| Netherworld | |
|---|---|
 Abandon all hope... eventually | |
| Basic Info | |
| Effects | None |
| Events | None |
| Notable NPCs | None |
| Other | |
| Connecting Areas | The Deciding StreetExhibitionShinto ShrineTatami RoomSaturated Eyeball Zone ⛔Intestines Maze |
| BGM | 0109BGM4 |
| Map ID | Missing |
The Netherworld (冥府, Meifu) is an area accessible from the eastern path in The Deciding Street.
Features
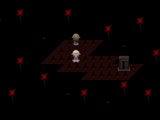
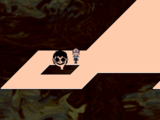
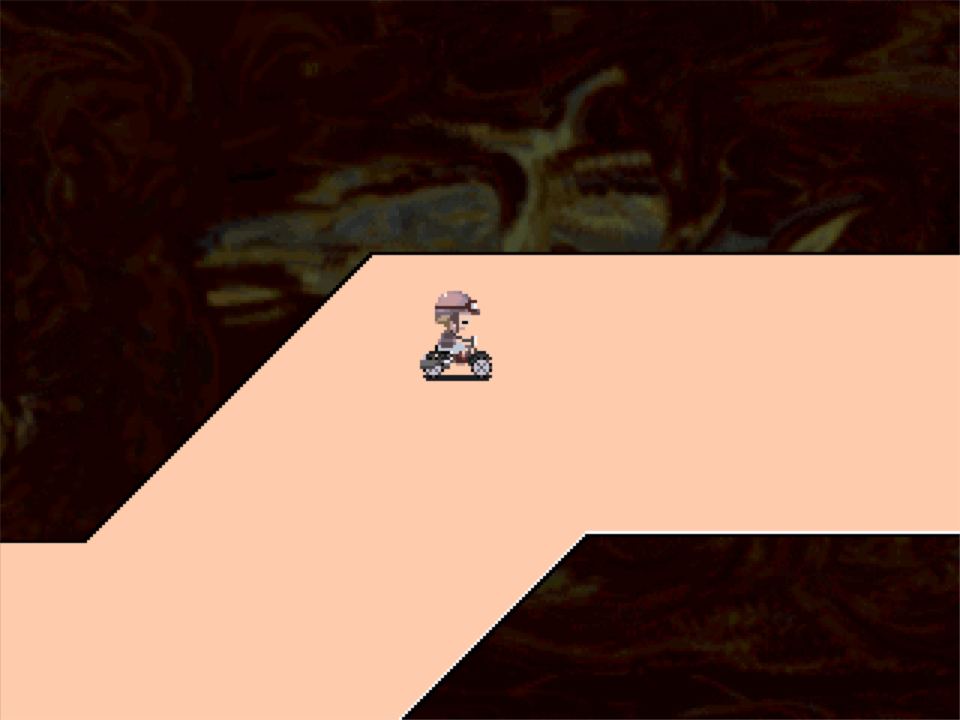
The Netherworld is a large winding area featuring wide, angled paths that branch in many directions throughout the area, and a very basic art style offset by occasional detailed objects or buildings.
After traveling a certain distance into the area from the Deciding Street entrance, a large green creature appears over the path behind you, preventing you from returning. Chainsawing this creature changes its appearance but does not allow you to pass.
The Netherworld itself is split into two main routes.
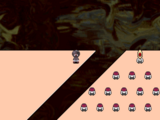
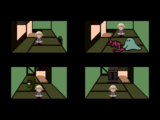
The lower route leads to a large platform containing a door to the Shinto Shrine, as well as a large caricature head with no eyes that teleports you to the Exhibition when interacted with.
The upper route leads over a large detailed bridge into the main part of this area, which is inhabited by many gray 3-eyed slug creatures. Across the bridge there is a small food stand in the corner, its sole proprietors an npc in red clothing and a dancing clam.
Directly down from the food stand is a large building with 4 doors leading to different rooms. Moving in a clockwise direction around the building, the rooms are as follows:
- The first room contains a small entrance to the Tatami Room that requires the fairy or child effect to be entered.
- The second room is home to a strange blob creature that appears to be massaging another pink creature.
- The third room is home to a girl in a large green sack, who appears to be drawing on a green tablet.
- The fourth room contains a dilapidated closet that when interacted with will take you to a sectioned off part of the Closet Pinwheel Path, where a bleeding Urotsuki wearing a collar and leash sits on the edge of the path, facing away. This connection is only available if you have visited Closet Pinwheel Path previously.
A wide path leads off to the right between the bridge area and the building. Looking off to the right of the path, a large-headed priest can be seen meditating infront of a large group of his pupils. Equipping the Eyeball Bomb effect near him will make him reveal a giant red eye of his own.
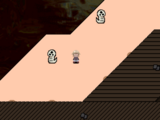
Continuing downwards the path turns to the right, passing by a dead tree where a grey creature can be found hanging from the branches who will wriggle around if you equip the chainsaw effect. Heading right, another path branches downwards leading to a long empty path with a single npc at the end who changes color in response to various effects.
Continuing past the downwards path, the main path leads up to the right, into another intersection. The path on the left here leads up to the area with the priest and his pupils, and on the right the main path continues further upwards until it branches again in both directions.
Down the branch to the left there is a short path that leads upwards, wrapping around to a platform occupied by a large blob of flesh with a grinning mouth that serves as a portal to the Intestines Maze.
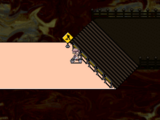
Down the branch to the right the main path continues further upwards, passing an area closed off with cones that is currently Under Construction and leading up to the very top of the area. A path leads up to the right here, to a smiley-face shaped area where a smoking demon lady in a green robe can be found who will give you 400夢 if you interact with her.
Directions
Nexus → Heart World → The Deciding Street → Netherworld
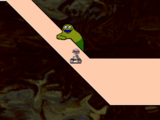
No going back...
Hell is apparently closed for maintenance.
oh god not again.

Doors to the Shinto Shrine...
...and a somewhat less conventional way to the Exhibition.


