Potatoidea (talk | contribs) m (Removing stub) |
(added instructions on how to complete the dungeon (if someone can do it better than me please change it)) |
||
| Line 36: | Line 36: | ||
'''Floor 1''' - contains the green door and key. It is guarded only by simple slime chasers that move rather slowly. There is also a shop that sells vending machine items for 100 Yume each. | '''Floor 1''' - contains the green door and key. It is guarded only by simple slime chasers that move rather slowly. There is also a shop that sells vending machine items for 100 Yume each. | ||
To get to the next floor, get the green key by going 2 rooms to the right, then one room down and more room to the right again, then return to the door by the same path. | |||
'''Floor 2''' - contains the blue door and key. It adds moving spike blocks, which follow a simple movement pattern. | '''Floor 2''' - contains the blue door and key. It adds moving spike blocks, which follow a simple movement pattern. | ||
The yellow key is located 1 room up, 3 rooms to the left and then 1 room down. After getting it, return back to the room with the spinning blocks, and then go 2 rooms up. After getting the key, it's only required to go 3 rooms up. | |||
'''Floor 3''' - contains the purple door and orange key. It has walls with passability you can toggle with a switch, with a single room that dictates which blocks are passable and which aren't. Additionally, chasers start inhabiting rooms that contain other traps as well. If Urotsuki is caught, the switch will return to its original state, requiring it to be flipped again before proceeding down. (don't ask me why the colors were mismatched) | '''Floor 3''' - contains the purple door and orange key. It has walls with passability you can toggle with a switch, with a single room that dictates which blocks are passable and which aren't. Additionally, chasers start inhabiting rooms that contain other traps as well. If Urotsuki is caught, the switch will return to its original state, requiring it to be flipped again before proceeding down. (don't ask me why the colors were mismatched) | ||
To get to the next floor, go left, then down, left, 2 rooms up, then left, up to flip the switch, then left to get the key, then down twice, left, up 3 times and then right. | |||
'''Floor 4''' - contains the white door and key. Floor-spike traps now litter the area. Some are on a timer, and some are controlled with a switch, similar to the previous floor. Masks also line the walls, and when the final key is taken, some of them will become animate and chase Urotsuki down. | '''Floor 4''' - contains the white door and key. Floor-spike traps now litter the area. Some are on a timer, and some are controlled with a switch, similar to the previous floor. Masks also line the walls, and when the final key is taken, some of them will become animate and chase Urotsuki down. | ||
To get the key, go left twice, down to flip the switch, up 3 times, left across the circling spikes, then down, right, down twice, left, up, left and up. After getting the key, backtrack to the switch room, flip it again, then go up twice, right across the now lowered spikes, and then up. Behind the door will be a blue portal; stepping on it will unlock the same portal in the shop of Floor 1. | |||
'''Floor 5''' - contains the boss. In the room before the boss, there is a teleporter which can take Urotsuki up to the shop and vice versa. In the boss battle room, the boss stands stationary at the top, with two chaser orbs that alternate between rapidly chasing Urotsuki and pausing. There are two strips of floor spikes and four buttons, one of which is blue. When a button is blue, Urotsuki can press it to damage the boss. Taking too long to get to a blue button will randomly re-assign which button is blue. Damaging the boss enough in this manner will defeat it and de-spawn the chaser orbs. In the room behind the boss, Urotsuki can find the greatest treasure of all, [[Yume 2kki:Menu Themes|Menu Theme #78]], as well as a door that leads out of the Dungeon. | '''Floor 5''' - contains the boss. In the room before the boss, there is a teleporter which can take Urotsuki up to the shop and vice versa. In the boss battle room, the boss stands stationary at the top, with two chaser orbs that alternate between rapidly chasing Urotsuki and pausing. There are two strips of floor spikes and four buttons, one of which is blue. When a button is blue, Urotsuki can press it to damage the boss. Taking too long to get to a blue button will randomly re-assign which button is blue. Damaging the boss enough in this manner will defeat it and de-spawn the chaser orbs. In the room behind the boss, Urotsuki can find the greatest treasure of all, [[Yume 2kki:Menu Themes|Menu Theme #78]], as well as a door that leads out of the Dungeon. | ||
Revision as of 20:29, 31 July 2024
| Dream Tropics | |
|---|---|

| |
| Basic Info | |
| Japanese Name(s) |
大海原 |
| Effects | None |
| Collectibles | |
| Events | None |
| Notable NPCs | Dungeon Boss |
| Other | |
| Connecting Areas | Journey's Road |
| BGM | 🔊 svr_Cold (No. 1045A) 🔊 svr_Cold – Islands (No. 1045B) 🔊 arcturus_dungeon1 – Dungeon (Floor 1) (No. 1046A) 🔊 arcturus_dungeon2 – Dungeon (Floor 2) (No. 1046B) 🔊 arcturus_dungeon3 – Dungeon (Floor 3) (No. 1046C) 🔊 arcturus_dungeon4 – Dungeon (Floor 4) (No. 1046D) 🔊 arcturus_bossfight – Dungeon (Boss Floor) (No. 1047) |
| Map ID | 2820, 2991 |
| Version Added | 0.124d |
| Last Updated | 0.124f |
| Author | Nadeko |
Dream Tropics is an area available from the boat at the end of Journey's Road.
Features
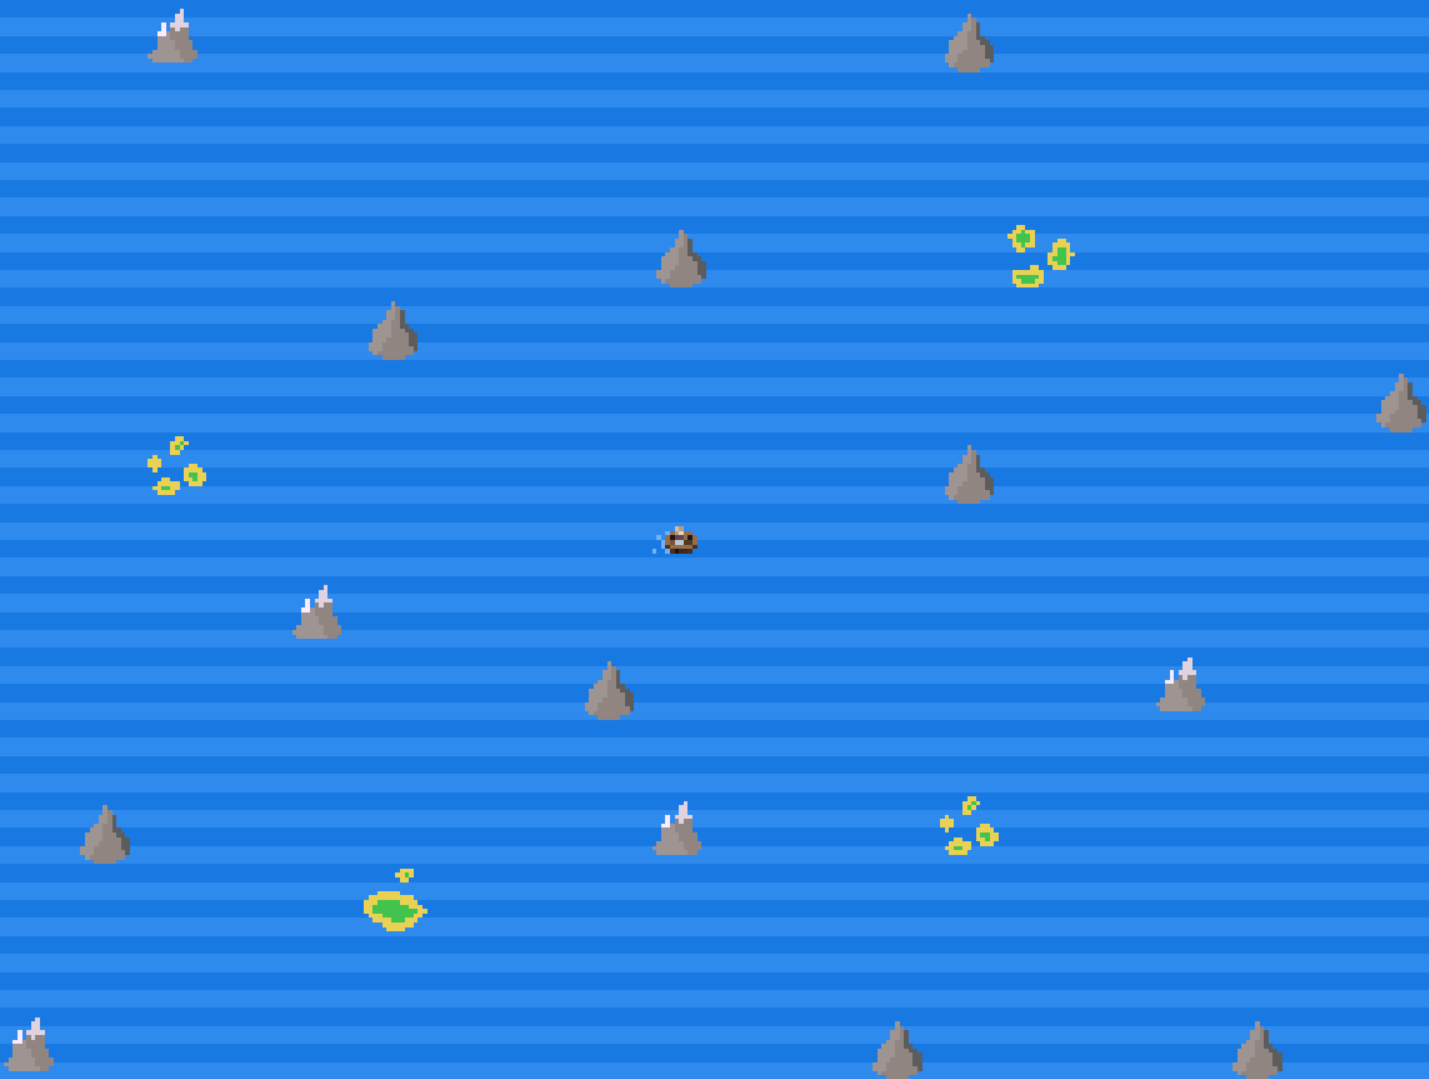
Dream Tropics is a large ocean. Urotsuki's sprite as she sails, much like all the other islands and traveling boats she passes, are in miniature scale to capture the size of the world. Certain islands have docks, and interacting with them will allow Urotsuki to disembark and wander the island.
In the ocean, there's a long blue streak that acts as a continuation of the road that's lead up to this point. At the end of it is a sign forbidding further passage, under construction for new maps. A little south and east of it is a formation of islands that resemble a clock.
At the south-west end of the world, ignoring the road, you'll find a section of islands that are surrounded by rocky crags, and pirate chaser ships wander within them. If they catch Urotsuki, she will be sent off to another island north, though she still has her boat and can sail out again. Deep in this section, there is an island Urotsuki can enter with a map of the world, with an "X" over to the south-east side, surrounded by a giant wall, but a hint about an entrance to the north side. Urotsuki can navigate through those waters, filled with pirate ships that are faster than the previous ones, and locating where the "X" is on the map, you'll find an island with an entrance to the Dungeon on it.
Dungeon
The Dungeon is a subarea that consists of five floors that descend, each built out of small rooms. Urotsuki starts at the top floor and she will find doors that require keys to advance, but each floor is guarded by various chasers and traps. If Urotsuki is caught, she will be kicked out to the Dungeon entrance. If a key has been used on a door, that door will remain unlocked, but Urotsuki will lose any key that she is currently holding and hasn't used, requiring her to find and obtain it again. This also doesn't include the floor 4 key, meaning that if she gets caught at any point afterwards, she'll have to do floor 4 again.
Floor 1 - contains the green door and key. It is guarded only by simple slime chasers that move rather slowly. There is also a shop that sells vending machine items for 100 Yume each.
To get to the next floor, get the green key by going 2 rooms to the right, then one room down and more room to the right again, then return to the door by the same path.
Floor 2 - contains the blue door and key. It adds moving spike blocks, which follow a simple movement pattern.
The yellow key is located 1 room up, 3 rooms to the left and then 1 room down. After getting it, return back to the room with the spinning blocks, and then go 2 rooms up. After getting the key, it's only required to go 3 rooms up.
Floor 3 - contains the purple door and orange key. It has walls with passability you can toggle with a switch, with a single room that dictates which blocks are passable and which aren't. Additionally, chasers start inhabiting rooms that contain other traps as well. If Urotsuki is caught, the switch will return to its original state, requiring it to be flipped again before proceeding down. (don't ask me why the colors were mismatched)
To get to the next floor, go left, then down, left, 2 rooms up, then left, up to flip the switch, then left to get the key, then down twice, left, up 3 times and then right.
Floor 4 - contains the white door and key. Floor-spike traps now litter the area. Some are on a timer, and some are controlled with a switch, similar to the previous floor. Masks also line the walls, and when the final key is taken, some of them will become animate and chase Urotsuki down.
To get the key, go left twice, down to flip the switch, up 3 times, left across the circling spikes, then down, right, down twice, left, up, left and up. After getting the key, backtrack to the switch room, flip it again, then go up twice, right across the now lowered spikes, and then up. Behind the door will be a blue portal; stepping on it will unlock the same portal in the shop of Floor 1.
Floor 5 - contains the boss. In the room before the boss, there is a teleporter which can take Urotsuki up to the shop and vice versa. In the boss battle room, the boss stands stationary at the top, with two chaser orbs that alternate between rapidly chasing Urotsuki and pausing. There are two strips of floor spikes and four buttons, one of which is blue. When a button is blue, Urotsuki can press it to damage the boss. Taking too long to get to a blue button will randomly re-assign which button is blue. Damaging the boss enough in this manner will defeat it and de-spawn the chaser orbs. In the room behind the boss, Urotsuki can find the greatest treasure of all, Menu Theme #78, as well as a door that leads out of the Dungeon.
Directions
- The Nexus → Pudding World → Orange Badlands → Sunrise Road → Morning Suburbs → Summer Sky Coast → Urban Heights → Cookie Isle → Rainy Woods Path → Journey's Road → Dream Tropics
Gallery


- 2F8AEE
- DBC34E