| Cone Pole Path | |
|---|---|

| |
| Basic Info | |
| Regional Name(s) |
四角錐通路 |
| Eidola | None |
| Events | None |
| Notable NPCs | Li'l Cones |
| Other | |
| Connecting Areas | Lavender Ruins Bleeding Ladders Dreary Woods Loading Zone |
| BGM | 🔊 millieamp_lavenderlights – Path A (No. 87) 🔊 millieamp_lavenderlights_rev – Path B (No. 87-1) |
| Map ID | 0273, 0276 |
| Version Added | 0.1.0 |
| Author | MillieAmp |

Cone Pole Path is an area accessible from the pole arch in Lavender Ruins.
Features
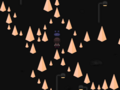
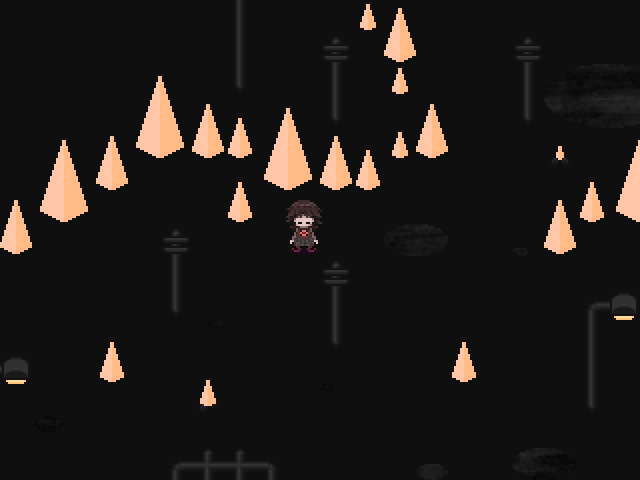
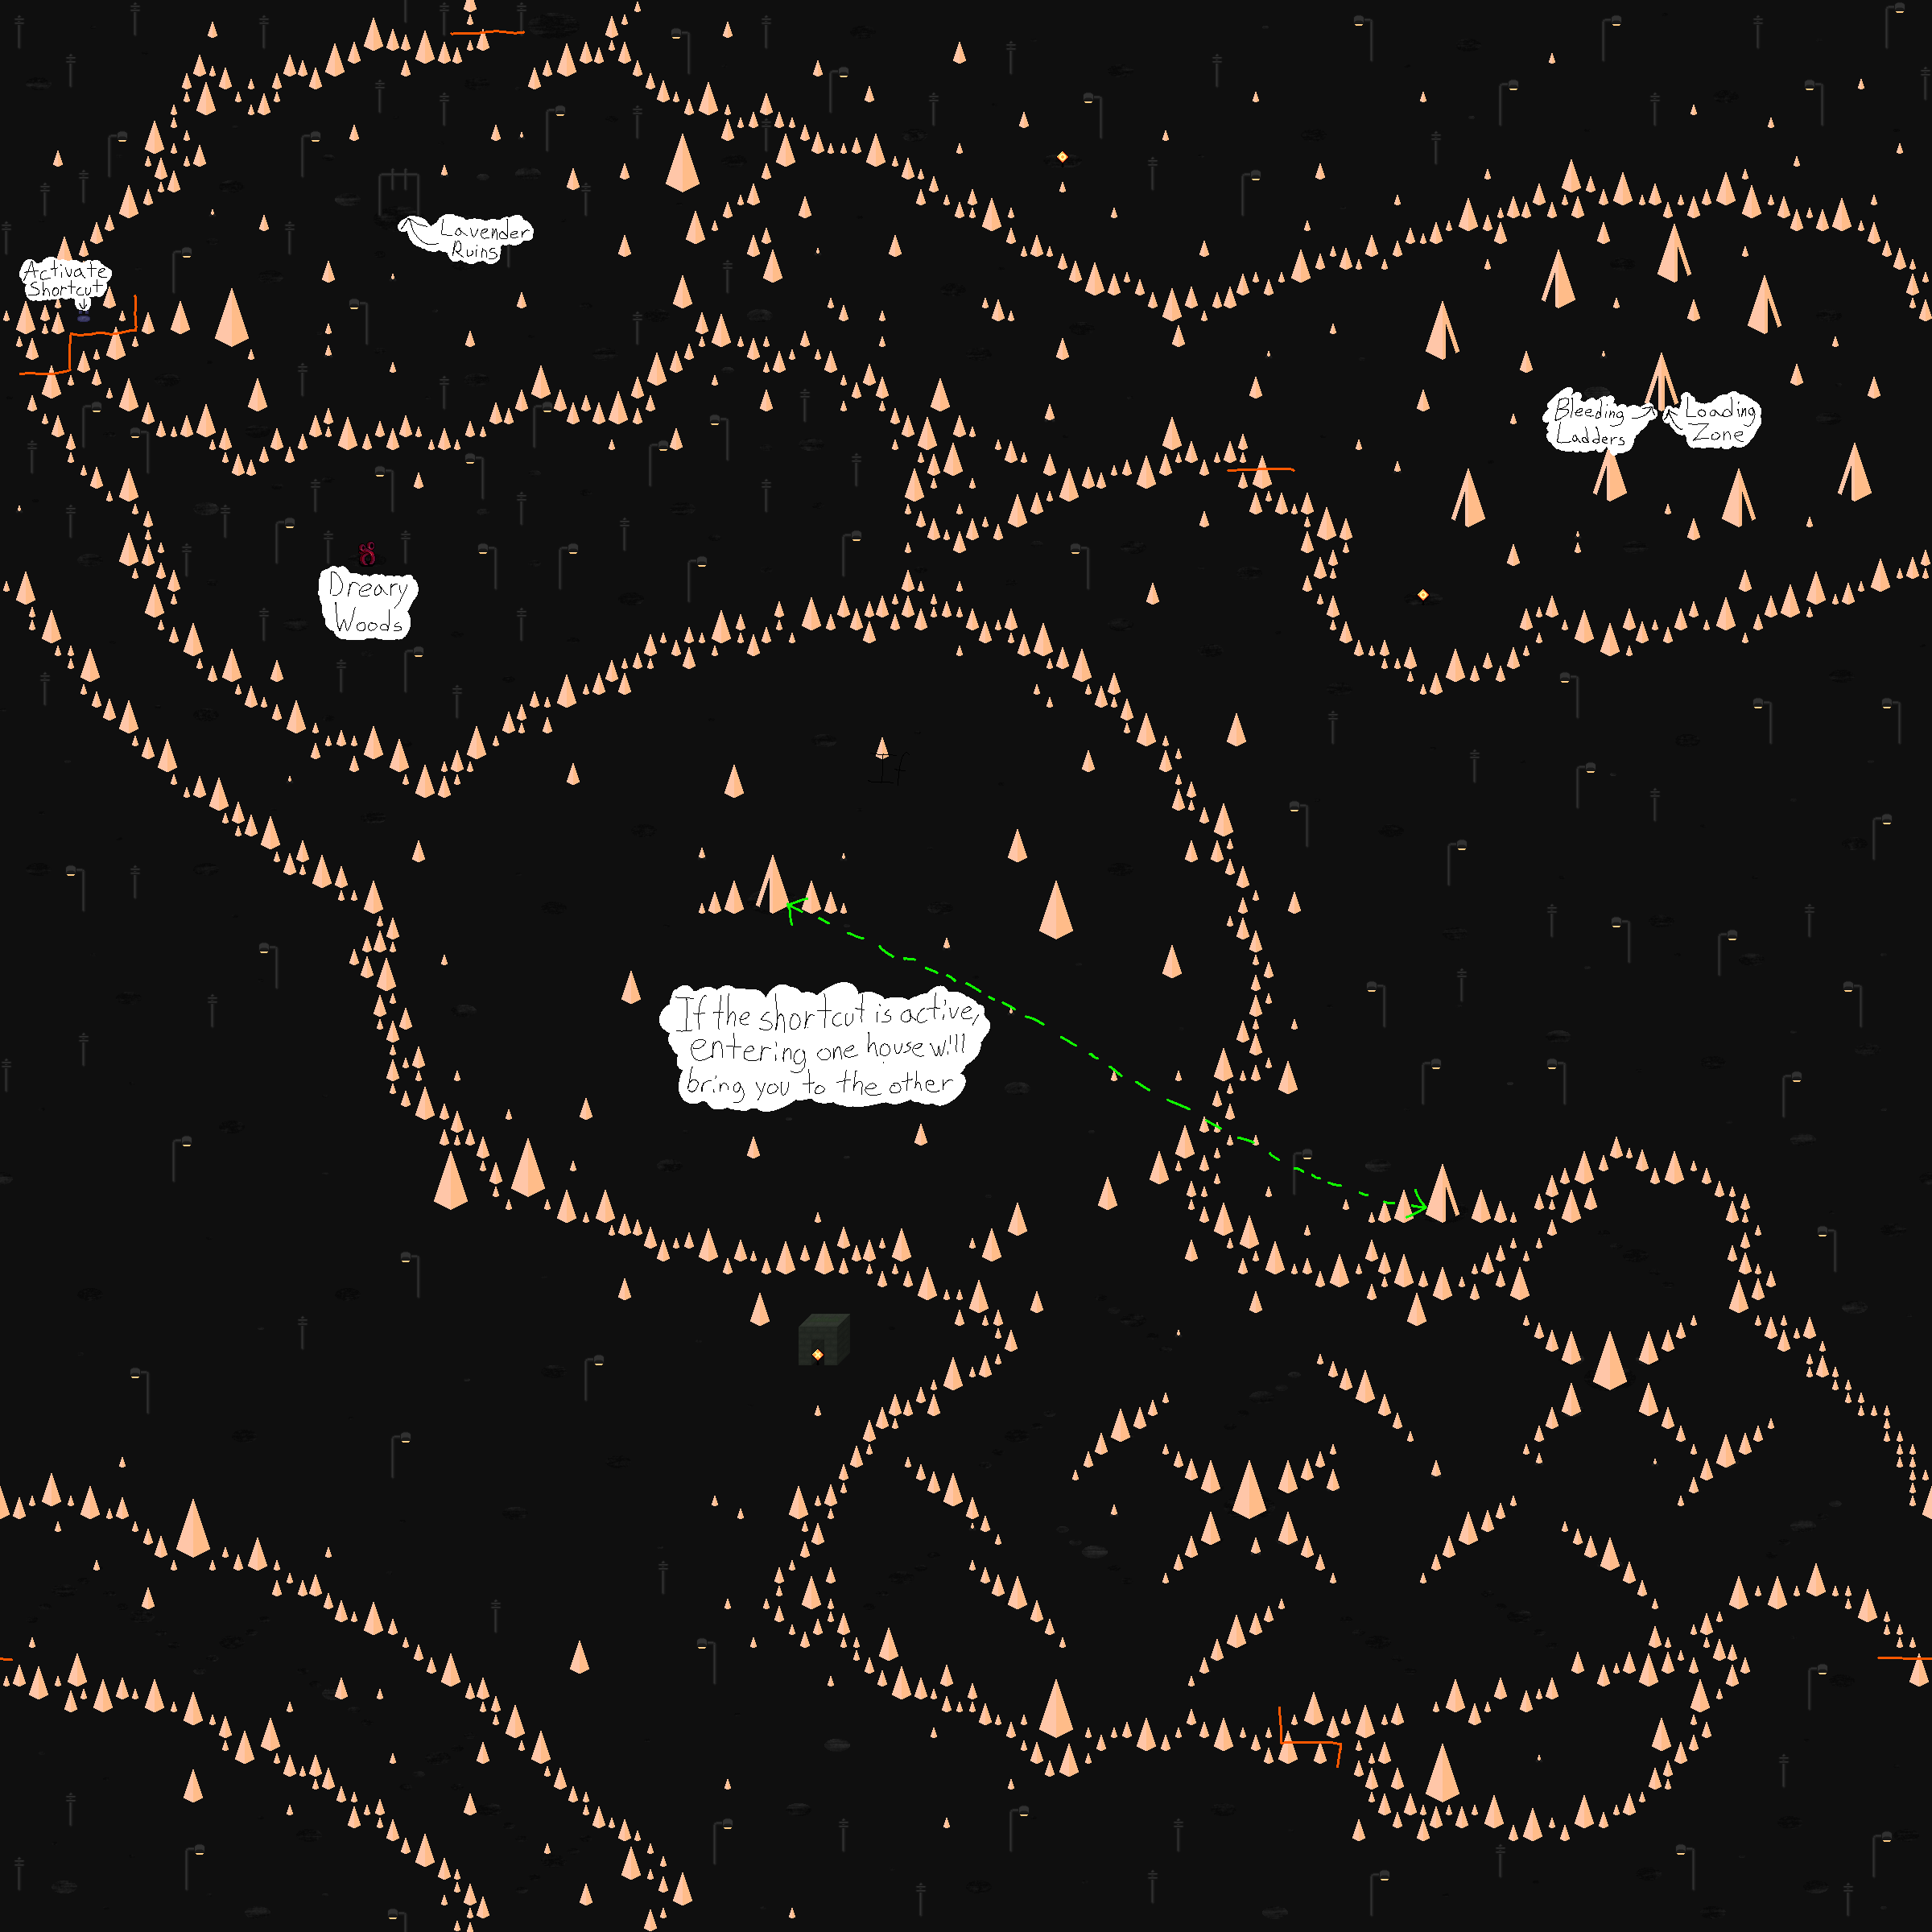
Cone Pole Path is a world defined by large stretches of yellow square pyramids that line up to form impassable walls. The only other repeated features are the various poles, streetlights, and puddles scattered about near the entrance and on the other side of the walls. In various spots, there are also cones of various sizes that will occasionally walk around and will give 100 Luna when killed.
The entrance from Lavender Ruins is loosely surrounded by a large group of cones, with holes in the wall leading out to other passages and areas on three sides. Down a wide tunnel to the east is a large collection of tent-like structures resembling the cone poles with large triangular doors cut out of them. One tent in the center of the group has two doors, the west leads to Bleeding Ladders while the east door leads to Loading Zone. All of the other tents' doors lead to empty sub-areas representing their interiors.
Heading west from the entrance leads to a narrow gap in the wall containing a small purple switch. Stepping on this switch activates a shortcut connecting two tents closer to the south end of the world. To the west of the switch is the group of tents again, while heading south brings you down a long path and into an incredibly large circular area containing one of the connected shortcut tents. Entering this tent brings you inside of it like usual, but when the shortcut is enabled, exiting will instead spit you out of an entirely different tent. This can be noticed most easily by the door on this tent facing the opposite direction. Entering and exiting this second tent will also bring you back to your original location.
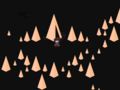
The exit north of the original entrance is a long, arcing corridor that leads west into a large room filled with cones, forming diagonal lines and X shapes. Due north from the west edge of this area is an opening that leads to the previous area with the shortcut tent. On the north end of this area, just out of reach behind a wall of cones, the second shortcut tent can be seen.
Leaving the second shortcut tent and venturing out, you will find an area covered with large amounts of poles, streetlights, and puddles. Heading northwest and through a narrow gap will lead to a portal that brings you to Dreary Woods when interacted with. Besides the shortcut tents, there are also a few easily-missed gaps in the walls that can be used to get to this section of the world. One is directly north of the entrance, next to a pole and the entrance to the northwards path. A second gap can be found on the north end of this path, along the same stretch of wall. West from this gap, on the south end of the room filled with diagonal walls, is another that requires moving along the wall to reach the exit. The final gap, closest to the Dreary Woods exit, is on the west end of the collection of tents, hiding behind a large cone.
Directions
Nexus → Lavender Ruins → Cone Pole Path
Gallery
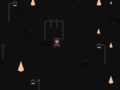
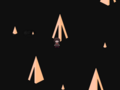
Connection to Lavender Ruins.
Purple switch that links the two shortcut tents together when stepped on.
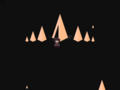
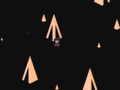
One of the two shortcut tents.
The other of the two shortcut tents.
Connection to Bleeding Ladders.
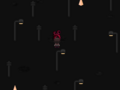
Connection to Dreary Woods.
Connection to Loading Zone.


- 252525
- FFC6A8