No edit summary |
mNo edit summary |
||
| (18 intermediate revisions by 6 users not shown) | |||
| Line 4: | Line 4: | ||
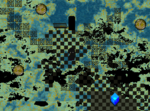
|image = Symbols Maze 1.PNG | |image = Symbols Maze 1.PNG | ||
|Effects = None | |Effects = None | ||
|Map Type = Large, | |Map Type = Large, Looping | ||
|Events = Symbols Switch | |Events = [[Answered Prayers:Events#Symbols Switch|Symbols Switch]] | ||
|NPCS = [[Answered Prayers | |NPCS = [[Answered Prayers:Chimiko|Chimiko]], Shadowrette | ||
|Connections = | |Connections = {{Connection|Broken Clock Park|isolation_type=DeadEnd}}, {{Connection|Playground|isolation_type=Return|directions=Interact with the blue cube in the top-right.}}, {{Connection|Spirit Town}}, {{Connection|Underwater Ship|directions=Interact with the blue cube in the bottom-right.'}}, {{Connection|Complex|chaser_type=Catch}} | ||
|Map ID = 0080 | |Map ID = 0080 | ||
|BGM = | |BGM = {{BGM|title=Absolute Zero|filename=BGM 1 absolute-zero.ogg}}, {{BGM|title=Recollection|filename=BGM 31 Recollection.ogg|label=Beyond}} | ||
}} | }} | ||
The '''Symbols Maze''' | The '''Symbols Maze''' can be reached through the alleyway door in [[Answered Prayers:Spirit Town|Spirit Town]], the [[Answered Prayers:Underwater Ship|Underwater Ship]], or [[Answered Prayers:Broken Clock Park|Broken Clock Park]]. | ||
{{LocationMap|filename=Symbols Maze Map.png|caption=Map of Symbols Maze}} | |||
[[ | {{LocationMap|filename=Symbols Maze Map decoded.png|caption=Decoded map}} | ||
==Features== | ==Features== | ||
The Symbols Maze is a gigantic maze that connects several points of the Spirit World with each other, acting as a hub. Its floor consists of dark grey tiles with a square pattern that resembles the manji symbol found all over the Spirit World. Black walls form the maze. In the background, a scrolling image of various symbols and letters flashes through the gaps between the walls and the tiles. In some areas, both the floor and walls are removed, making the background more apparent. | |||
[[File:Symbols Maze Chimiko.PNG|thumb|right|170px|Hey there buddy]] | [[File:Symbols Maze Chimiko.PNG|thumb|right|170px|Hey there buddy]] | ||
Enraged [[Answered Prayers:Chimiko|Chimiko]] roam around the maze acting as chasers. Unlike ''Yume Nikki's'' [[Yume Nikki:Toriningen|Toriningen]], however, the hostile Chimiko are very easy to avoid and have to be almost actively sought out. | |||
Unlike ''Yume Nikki's'' [ | |||
[[File:Symbols Maze 2.PNG|thumb|right|170px|Colour variation via switch]] | [[File:Symbols Maze 2.PNG|thumb|right|170px|Colour variation via switch]] | ||
Floating blue cubes throughout the area transport you to other locations when interacted with. | |||
There are two main paths in the maze that do not cross over each other. If you are on one path and want to enter the other, you'll have to reenter the maze from another area. | |||
===First Path=== | === First Path=== | ||
The cube in the top left | The blue cube in the top left connects to the checker-tile path to [[Answered Prayers:Spirit Town|Spirit Town]]. | ||
The blue cube in the bottom right connects to the bubble-framed path to the [[Answered Prayers:Underwater Ship|Underwater Ship]]. | |||
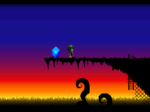
The blue cube in the bottom left links to '''Beyond'''. This isolated room, which resembles the [[Answered Prayers:Miko Shrine|Miko Shrine]], is an unfinished area that is likely intended to be expanded in future updates. | |||
On this path, it is also possible to find a transparent, unmoving sprite of Fluorette in her [[Answered Prayers:Prayers#Phantom|Phantom Prayer]] form. Interacting with her changes the colour of the maze, and the green scrolling background turns red. | |||
===Second Path=== | ===Second Path=== | ||
The second path | The second path can only be accessed from the [[Answered Prayers:Broken Clock Park|Broken Clock Park]], and walking through it eventually leads to a hidden section of the [[Answered Prayers:Playground|Playground]]. | ||
==Directions== | ==Directions== | ||
[[Answered Prayers | [[Answered Prayers:Nexus|Nexus]] → [[Answered Prayers:Green World|Green World]] → [[Answered Prayers:Green World#Green Hallway|Green Hallway]] → [[Answered Prayers:Outlands|Outlands]] → [[Answered Prayers:Borderland Corridor|Borderland Corridor]] → [[Answered Prayers:Spirit Town|Spirit Town]] → Symbols Maze (First Path) | ||
[[ | [[Answered Prayers:Nexus|Nexus]] → [[Answered Prayers:Clock Work World|Clock Work World]] → [[Answered Prayers:Broken Clock Park|Broken Clock Park]] → Symbols Maze (Second Path) | ||
==Trivia== | ==Trivia== | ||
*As seen in the files of the game, the signs in the background spell out "Fluorette" two times and also feature several instances of the ''Four Ways Symbol'' found all over the Spirit World. | *As seen in the files of the game, the signs in the background spell out "Fluorette" two times and also feature several instances of the ''Four Ways Symbol'' found all over the Spirit World. | ||
*This maze is modeled after ''Yume Nikki'''s [[Yume Nikki:Hell|Hell]] area, a popular area to emulate in fangames. | |||
**The ghostly figure of Fluorette that changes the color of the maze is likely a reference to [[Yume Nikki:Madotsuki's Ghost|Madotsuki's Ghost]], also from ''Yume Nikki''. | |||
==Gallery== | ==Gallery== | ||
| Line 57: | Line 53: | ||
</gallery> | </gallery> | ||
===First Path | ===First Path Connections=== | ||
<gallery widths="150" columns="4" bordercolor="transparent" spacing="small" hideaddbutton="true"> | <gallery widths="150" columns="4" bordercolor="transparent" spacing="small" hideaddbutton="true"> | ||
Spirit Town Path.PNG|Spirit Town Path | Spirit Town Path.PNG|Spirit Town Path | ||
| Line 65: | Line 61: | ||
</gallery> | </gallery> | ||
===Second Path | ===Second Path Connections=== | ||
<gallery widths="150" columns="4" bordercolor="transparent" spacing="small" hideaddbutton="true"> | <gallery widths="150" columns="4" bordercolor="transparent" spacing="small" hideaddbutton="true"> | ||
Broken Clock Park 4.PNG|Broken Clock Park Path | Broken Clock Park 4.PNG|Broken Clock Park Path | ||
| Line 71: | Line 67: | ||
</gallery> | </gallery> | ||
[[Category:Answered Prayers | [[Category:Answered Prayers Locations]] | ||
[[Category:Answered Prayers | [[Category:Answered Prayers In Development]] | ||
Revision as of 20:46, 26 May 2024
| Symbols Maze | |||||||||
|---|---|---|---|---|---|---|---|---|---|

| |||||||||
| Basic Info | |||||||||
| Prayers | None | ||||||||
| Events | Symbols Switch | ||||||||
| Notable NPCs | Chimiko, Shadowrette | ||||||||
| Other | |||||||||
| Connecting Areas |
Broken Clock Park ↩️ | ||||||||
| BGM | Absolute Zero Recollection (Beyond) | ||||||||
| Map ID | 0080 | ||||||||
| Map Type | Large, Looping | ||||||||
| |||||||||
The Symbols Maze can be reached through the alleyway door in Spirit Town, the Underwater Ship, or Broken Clock Park.
Features
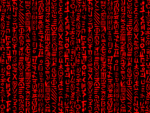
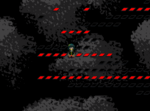
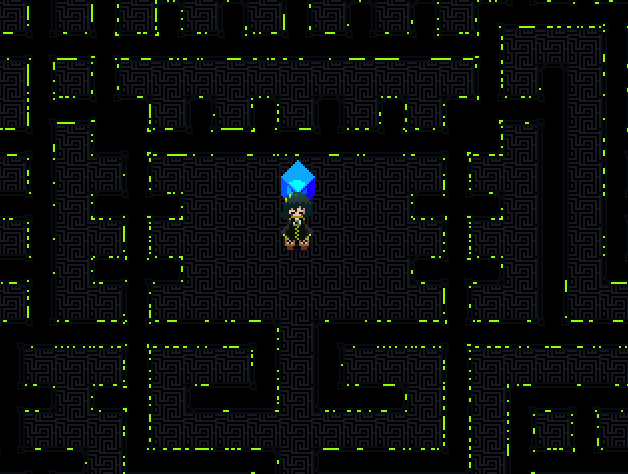
The Symbols Maze is a gigantic maze that connects several points of the Spirit World with each other, acting as a hub. Its floor consists of dark grey tiles with a square pattern that resembles the manji symbol found all over the Spirit World. Black walls form the maze. In the background, a scrolling image of various symbols and letters flashes through the gaps between the walls and the tiles. In some areas, both the floor and walls are removed, making the background more apparent.

Enraged Chimiko roam around the maze acting as chasers. Unlike Yume Nikki's Toriningen, however, the hostile Chimiko are very easy to avoid and have to be almost actively sought out.

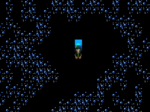
Floating blue cubes throughout the area transport you to other locations when interacted with.
There are two main paths in the maze that do not cross over each other. If you are on one path and want to enter the other, you'll have to reenter the maze from another area.
First Path
The blue cube in the top left connects to the checker-tile path to Spirit Town.
The blue cube in the bottom right connects to the bubble-framed path to the Underwater Ship.
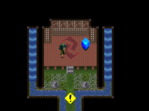
The blue cube in the bottom left links to Beyond. This isolated room, which resembles the Miko Shrine, is an unfinished area that is likely intended to be expanded in future updates.
On this path, it is also possible to find a transparent, unmoving sprite of Fluorette in her Phantom Prayer form. Interacting with her changes the colour of the maze, and the green scrolling background turns red.
Second Path
The second path can only be accessed from the Broken Clock Park, and walking through it eventually leads to a hidden section of the Playground.
Directions
Nexus → Green World → Green Hallway → Outlands → Borderland Corridor → Spirit Town → Symbols Maze (First Path)
Nexus → Clock Work World → Broken Clock Park → Symbols Maze (Second Path)
Trivia
- As seen in the files of the game, the signs in the background spell out "Fluorette" two times and also feature several instances of the Four Ways Symbol found all over the Spirit World.
- This maze is modeled after Yume Nikki's Hell area, a popular area to emulate in fangames.
- The ghostly figure of Fluorette that changes the color of the maze is likely a reference to Madotsuki's Ghost, also from Yume Nikki.
Gallery
Red background variation

Green background variation


First Path Connections
Spirit Town Path
Underwater Ship Path
Beyond Path

Shadowrette


Second Path Connections
Broken Clock Park Path
Playground Path


 (Map of Symbols Maze, https://yume.wiki/images/2/23/Symbols Maze Map.png) + and
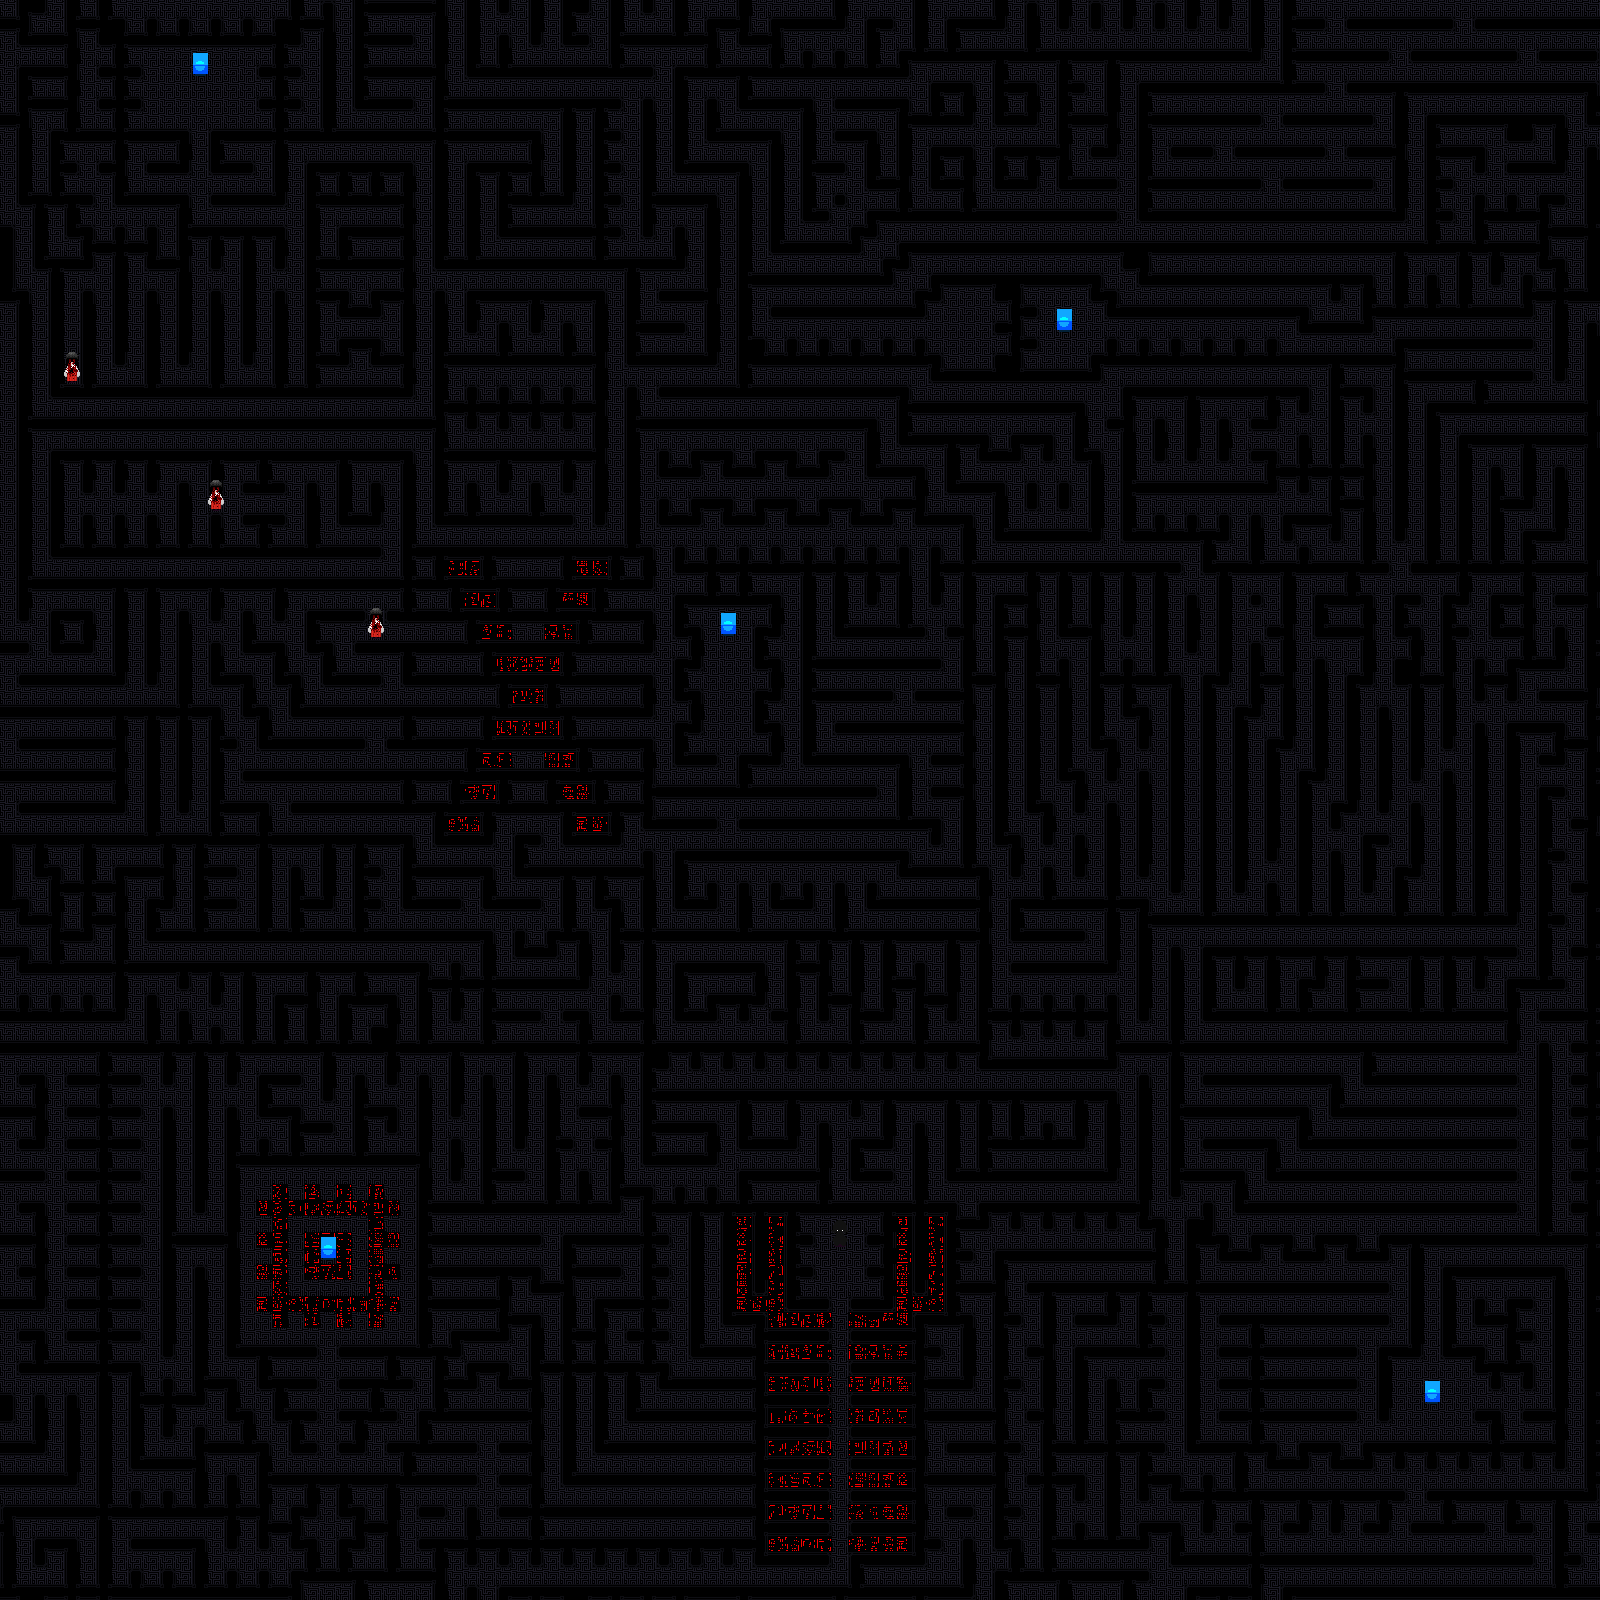
 (Decoded map, https://yume.wiki/images/5/5f/Symbols Maze Map decoded.png) +
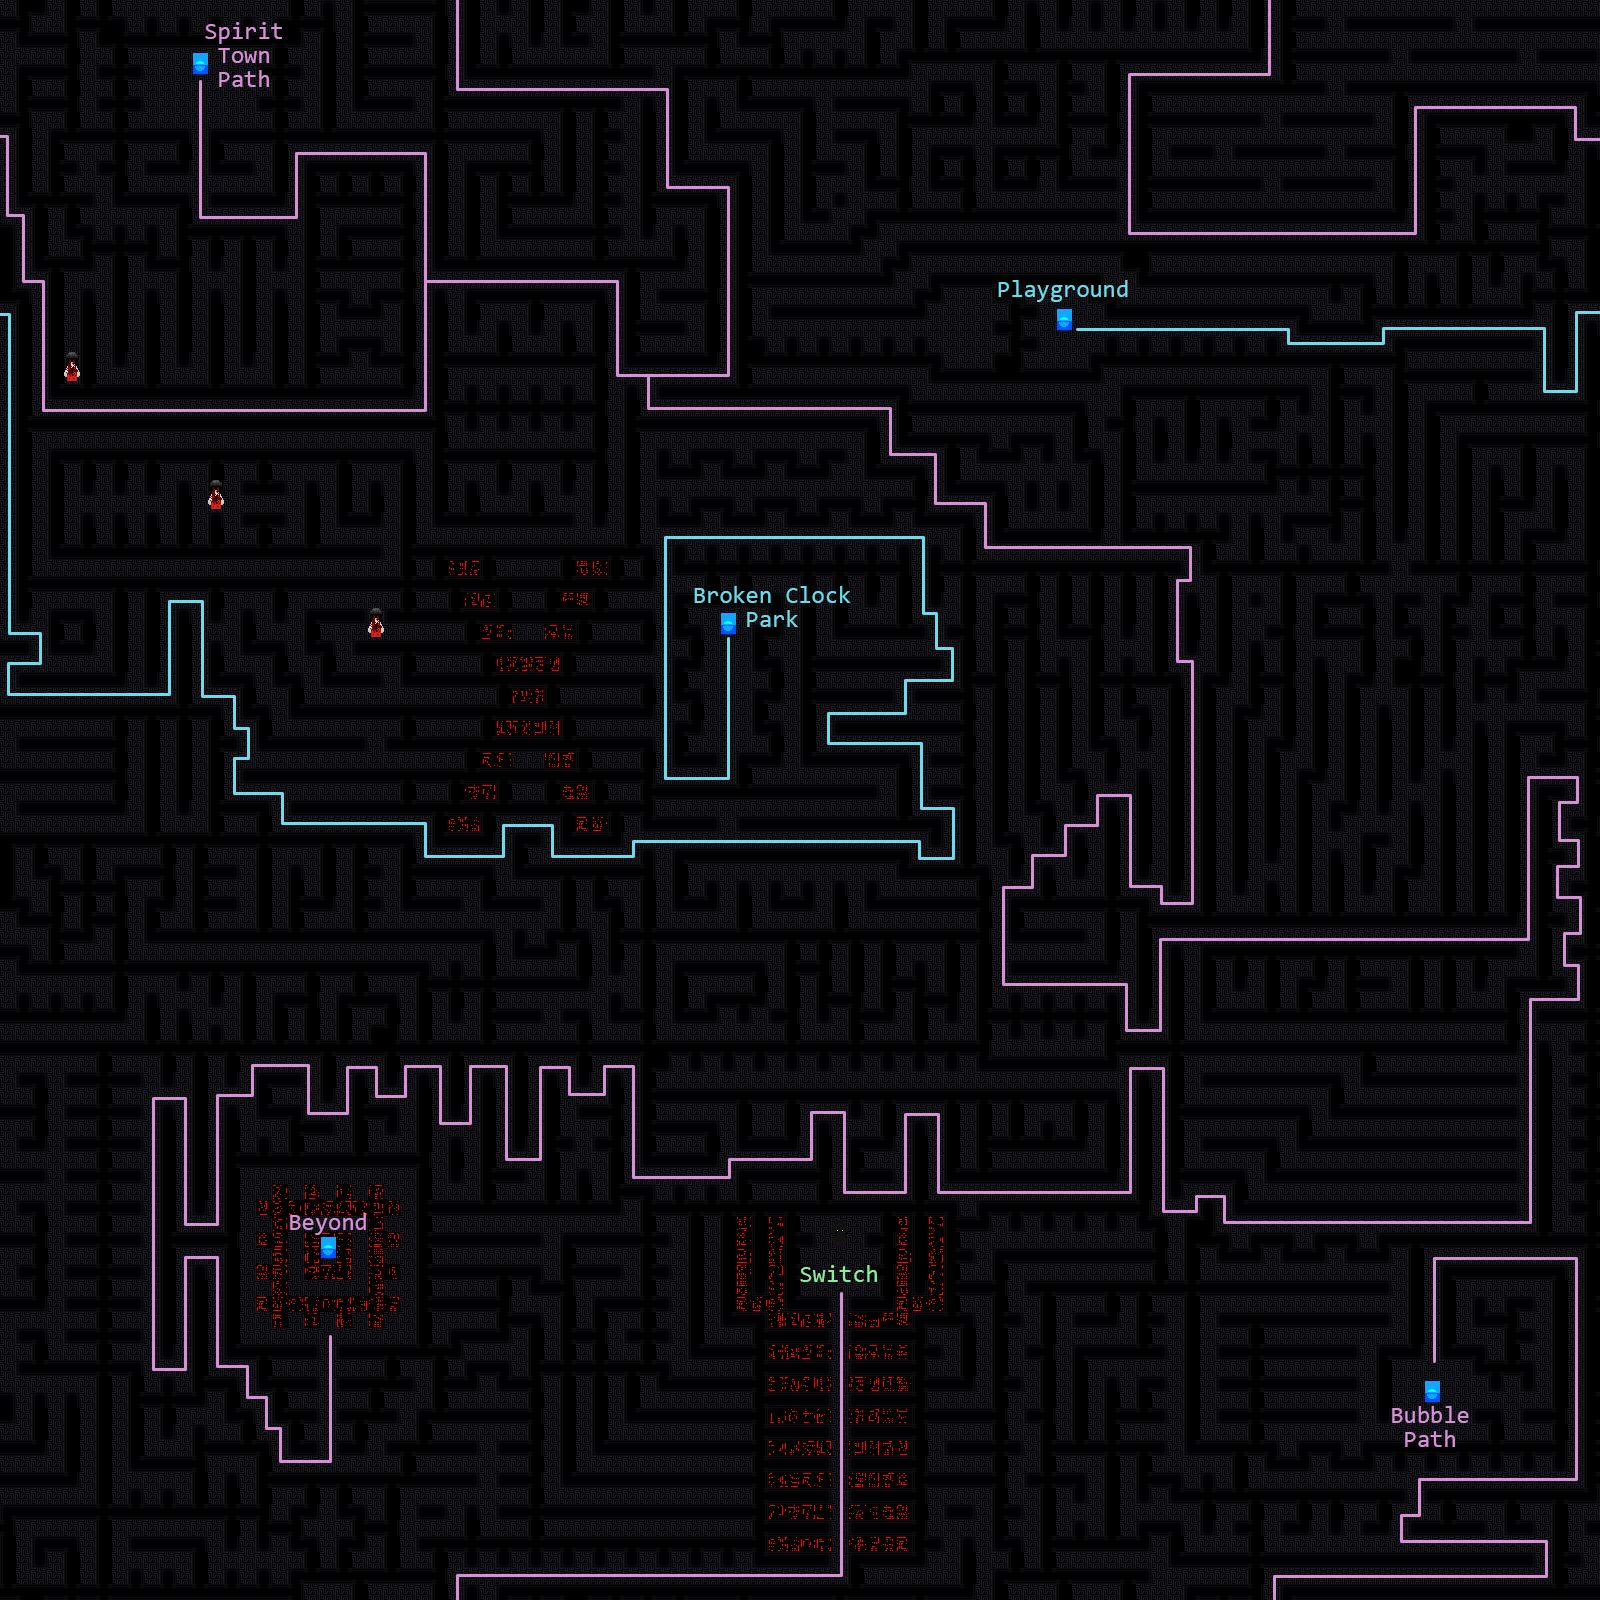
- 181821
- 94ff00