The Style Guide has recently been rewritten. Please take a moment to review the new guidelines.
SalmSamuel (talk | contribs) mNo edit summary |
LucidDream (talk | contribs) |
||
| Line 20: | Line 20: | ||
==Features== | ==Features== | ||
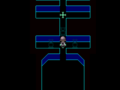
This area is rendered in the style of vector game graphics, and begins in a blue hall with 3 white flowers along the top of the wall. Between them are an angry red face, and a happy blue face above a red and blue circle respectively. By default, the blue face and circle will be alight, which indicates that the course will be in '''normal mode'''. Interacting instead with the red circle will light it and the red face, indicating that '''hard mode''' is now active. Depending on how specifically the player finishes the first course in hard mode, the three flower icons found at the entrance may light up green. | |||
Getting all three flowers to light up unlocks the [[Yume 2kki:Snow White Field#The Tunnel|Computer Room]] located within the tunnel of Snow White Field. This also unlocks '''extreme mode''', which can be activated by equipping the [[Yume 2kki:Effects#Glasses|Glasses]] effect and interacting with the hidden pink circle between the previous two. As with hard mode, if the player finishes extreme mode in a very specific way, it will make the middle flower pink. This fulfills one of the requirements to unlock the colored lights in the Computer Room. | |||
A symbol-changing construction sign initially blocks the path into the course. [[Yume 2kki:Urotsuki|Urotsuki]] can equip the chainsaw and interact with it until it fades away. If you decide to chainsaw the sign until it shows a smiling face, then interact with it, it will take you to the '''Yellow Diamond Area'''. Entering the doorway after removing the sign will take you into the course proper. | |||
===Course 1=== | ===Course 1=== | ||
Revision as of 20:38, 12 January 2025
| Obstacle Course | |
|---|---|
 A set of challenges await. | |
| Basic Info | |
| Regional Name(s) |
ストレース |
| Effects | None |
| Collectibles |
WP #439 |
| Events | None |
| Notable NPCs | Obstacle Demons |
| Other | |
| Connecting Areas | Shape World Snow White Field |
| BGM | 🔊 samayouストレース 🔊 samayou黄管板 – Yellow Diamond Area |
| Map ID | 1704, 1705, 1706, 1707, 1708, 1709 |
| Version Added | 0.117i |
| Last Updated | 0.118c patch 1 |
| Author | Yume wo Samayou |
The Obstacle Course is an area accessible from one of the cubes in Shape World. It is larger than the later Obstacle Course 2.
Features
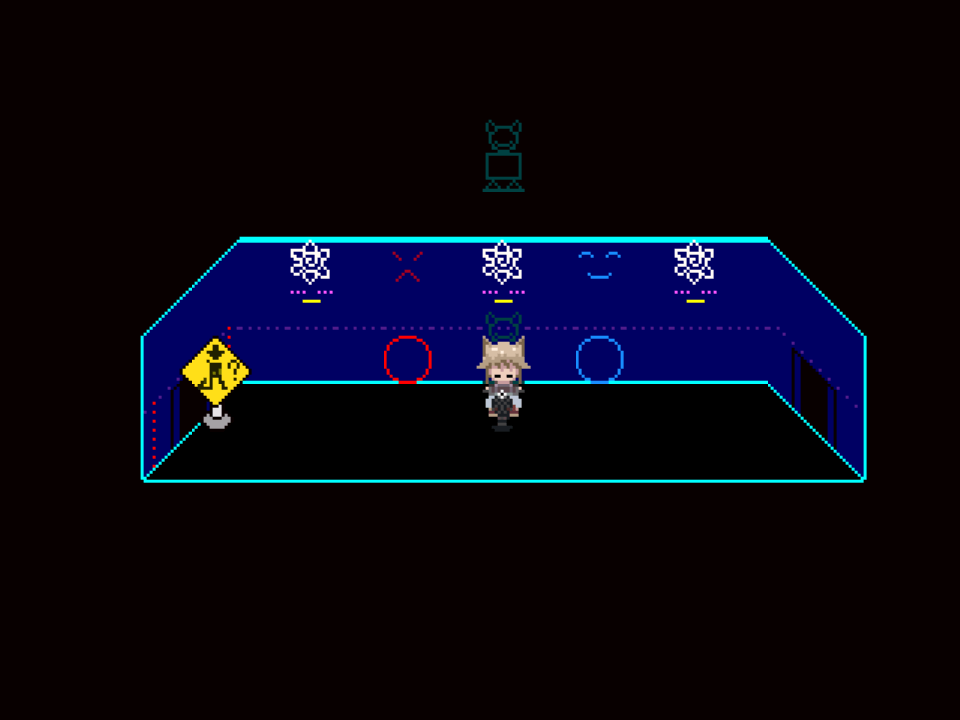
This area is rendered in the style of vector game graphics, and begins in a blue hall with 3 white flowers along the top of the wall. Between them are an angry red face, and a happy blue face above a red and blue circle respectively. By default, the blue face and circle will be alight, which indicates that the course will be in normal mode. Interacting instead with the red circle will light it and the red face, indicating that hard mode is now active. Depending on how specifically the player finishes the first course in hard mode, the three flower icons found at the entrance may light up green.
Getting all three flowers to light up unlocks the Computer Room located within the tunnel of Snow White Field. This also unlocks extreme mode, which can be activated by equipping the Glasses effect and interacting with the hidden pink circle between the previous two. As with hard mode, if the player finishes extreme mode in a very specific way, it will make the middle flower pink. This fulfills one of the requirements to unlock the colored lights in the Computer Room.
A symbol-changing construction sign initially blocks the path into the course. Urotsuki can equip the chainsaw and interact with it until it fades away. If you decide to chainsaw the sign until it shows a smiling face, then interact with it, it will take you to the Yellow Diamond Area. Entering the doorway after removing the sign will take you into the course proper.
Course 1
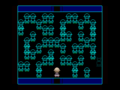
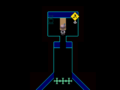
This part consists of outlines of Urotsuki, as well as a horned creature making its way to the exit. Bumping into any of these will send you back to the entrance. To get through this course, the solution is to follow the left path, and once one of Urotsuki's outlines move, do not go forward, but move to the left of it, quickly heading to the exit.
Hard Mode solution: Quickly go to the red X on the ground then make your way to the newly-opened path ASAP, where you would still need to wait for the Urotsuki outline near the end to move in your way and then, after it blocks the creature's path, head over to the left of it. A bell will ring upon reaching the door.
Extreme Mode solution: Touch the red X once the demon is one tile below the first gap at the right, then quickly follow the demon before he can get at the top-right corner. Use the empty space in this corner to go around the demon and then go to the left. When one of the Urotsukis start moving towards you, wait in place until she goes down towards a gap, then quickly go left 3 tiles, down 2 tiles, left 2 tiles and down again 2 tiles. If this isn't done quickly enough, the exit will be blocked.
Course 2
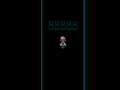
The entrance to this course has a sign that reads "Don't STOP", which hints to the key to solving this course. By stepping on the Templar cross-shaped symbol, a horned creature will appear behind Urotsuki, where you must run from it.
Course 3
The entrance to this course has a sign that reads "STOP" this time. Here, the solution is to stay on the symbol without moving, as the horned creatures approach and pass by you.
Course 4
There are four signs in this course's entrance: "STOP", "Don't STOP", "STOP", and "Don't STOP" in this order. However, if you use the Glasses, the first sign reveals that it actually reads "Don't STOP". The solution to this puzzle is to follow the signs from right to left, keeping the correct fourth step as revealed by the Glasses in mind. By solving this puzzle, there is a locked door, and a horned creature that you can interact with, taking you back to the entrance. This unlocks a connection between the entrance and the area's end point, allowing you to skip the obstacle courses altogether.
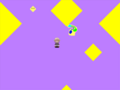
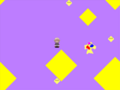
Yellow Diamond Area
A somewhat large looping area with large yellow diamonds over a purple background, with smaller diamonds that have eyes. There are two statues with blots of different colors in this area, as well as a smaller sign northwest of the entrance, whose appearance depends on the currently-equipped effect.
Directions
- The Nexus → Mushroom World → Bug Maze → The Hand Hub → Shape World → Obstacle Course
After visiting The Hand Hub once:
- The Nexus → Urotsuki's Dream Apartments → Simple Street → The Hand Hub → Shape World → Obstacle Course
Gallery
The first obstacle.
Facing your opponents.
Things may not seem like as you see them.
The final challenge.
You made it.
Inside the fake sign's realm.


- 000063
- 00ffff