No edit summary |
SalmSamuel (talk | contribs) (added info about "Bathroom Sector") |
||
| (26 intermediate revisions by 9 users not shown) | |||
| Line 3: | Line 3: | ||
|headerfontcolor = #c5c5c5 | |headerfontcolor = #c5c5c5 | ||
|image = Thrift Shop.png | |image = Thrift Shop.png | ||
|caption = Entrance | |caption = Entrance to [[Yume 2kki:Retro Cartridge Game|Retro Cartridge Game]]. | ||
|JapaneseName = 子供マーケット | |||
|Name = Children's Market | |||
|Effects = None | |Effects = None | ||
|Events = None | |Events = None | ||
|Wallpapers = None | |Wallpapers = None | ||
|NPCS = | |Masks = [[Yume 2kki:Masks/Others#Bean|Toy Urotsuki, Topdown Sprite]] | ||
|Connections = {{Connection|Nefarious Chessboard}}, {{Connection|Retro Cartridge Game}}, {{Connection|Foggy Remnants}}, {{Connection|Omurice Labyrinth|unlock_type=Unlock|effects_needed=Twintails}}, {{Connection| | |NPCS = [[Yume 2kki:Chasers#Toy Urotsuki|Toy Urotsukis]], [[Yume 2kki:Minor Characters#Vivian|Vivian]] | ||
|BGM = {{BGM|title=ann|filename=Dedp_ann(64B).ogg|soundroom=064C}} | |Connections = {{Connection|Nefarious Chessboard}}, {{Connection|Retro Cartridge Game}}, {{Connection|Foggy Remnants}}, {{Connection|Omurice Labyrinth|unlock_type=Unlock|effects_needed=Twintails}}, {{Connection|House of Vases}}, {{Connection|Pastel Mall|isolation_type=Return}} | ||
|Map ID = 2268 | |BGM = {{BGM|title=ann|filename=Dedp_ann(64B).ogg|soundroom=064C|speed=100}}, {{BGM|title=ann|filename=Y2 ann 70.ogg|label=Bathroom Sector|soundroom=064E}} | ||
|Map ID = 2268, 2567 | |||
|Primary = Bean | |Primary = Bean | ||
|Contributing = Yasakoten | |Contributing = Yasakoten, 2i9, luok, oneirokamara | ||
|VersionAdded = 0.120d patch 6 | |VersionAdded = 0.120d patch 6 | ||
|VersionsUpdated = 0.122f | |VersionsUpdated = 0.122f, 0.123, 0.126e | ||
}} | }} | ||
'''Thrift Shop''' is an area accessible from [[Yume 2kki: | '''Thrift Shop''' is an area accessible from the [[Yume 2kki:Nefarious Chessboard|Nefarious Chessboard]]. | ||
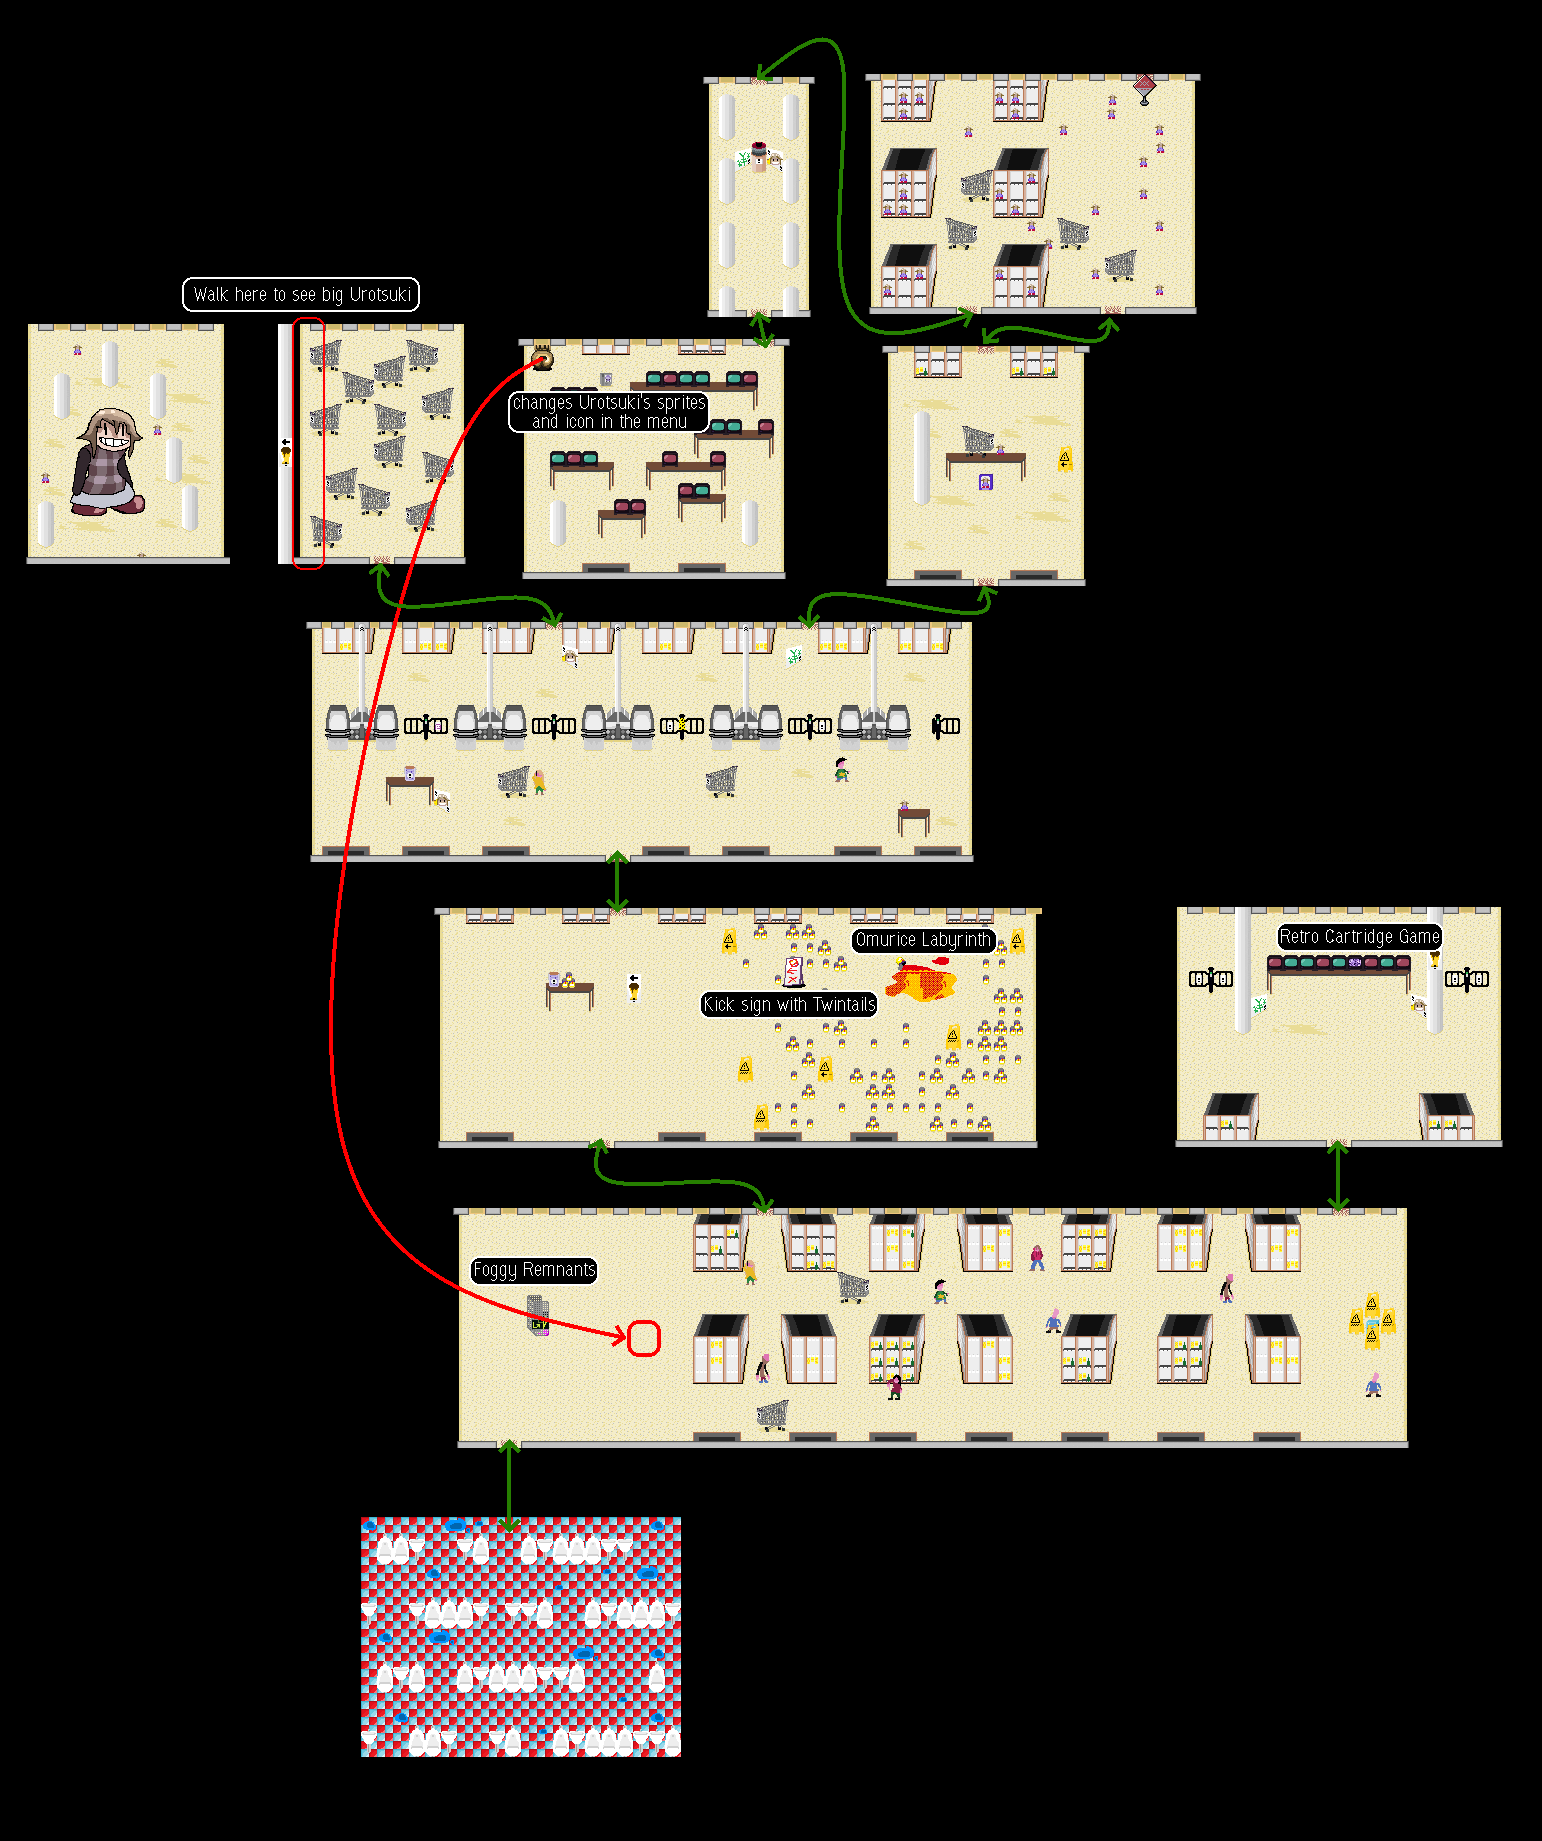
{{LocationMap|filename=ThriftShopMap.png|caption= | {{LocationMap|filename=ThriftShopMap.png|caption=Annotated map of Thrift Shop.}} | ||
==Features== | ==Features== | ||
Thrift Shop, as the name implies, is a thrift shop with tons of different items. There are many people shopping here, scattered throughout the area. | Thrift Shop, as the name implies, is a thrift shop with tons of different items. There are many people shopping here, scattered throughout the area. | ||
Starting from [[Yume 2kki: | Starting from the [[Yume 2kki:Nefarious Chessboard|Nefarious Chessboard]], you'll arrive in a room that's full of shopping carts. Near the left side of the room, there is a poster with a creature from [[Yume 2kki:Pudding World|Pudding World]] and an arrow pointing left. Sticking to the left side lets you see the adjacent room; in it, you'll be able to see some tiny [[Yume 2kki:Urotsuki|Urotsuki]] toys surrounding a comically large Urotsuki. | ||
Going down in the room with the shopping carts, you'll arrive near a board featuring Urotsuki's face, in an area with some closed gates, of which the rightmost one is open. On the top right side of this room, going up the path near the board featuring a yen symbol brings you to a room with a '''photo booth''' (see below). Below the Urotsuki board on the very left is an entrance to the '''Bathroom Sector'''. | |||
The '''Bathroom Sector''' is a restroom filled with toilets, urinals, mirrors and sinks that are scattered around the area. In here, there is a extremely tall urinal that Urotsuki can go behind, which takes her to an isolated area of the [[Yume 2kki:Pastel Mall|Pastel Mall]]. Left of the tall urinal is a blocked path with two unreachable restroom person signs. | |||
Continuing on the main area, going down into the next room you'll find cans and another Pudding Person poster. There is a sign on the right that can be kicked down by using the [[Yume 2kki:Effects#Twintails|Twintails]] effect, which allows you to access a red-yellow puddle from a lone can. Stepping into the middle of the puddle transports you to [[Yume 2kki:Omurice Labyrinth|Omurice Labyrinth]]. | |||
Further down into the next room, takes you to a larger area filled with store shelves and faceless shoppers. At the very left of this area is a big metal grate of sorts with some pink substance oozing out from the bottom. It lies in the middle of the room facing east and when walked through, leads to [[Yume 2kki:Foggy Remnants|Foggy Remnants]]. Continuing through the top right doorway leads to a room full of TVs, one of which is static-filled. Interacting with it brings you to [[Yume 2kki:Retro Cartridge Game|Retro Cartridge Game]]. | |||
After you manage to go down through the left side, avoiding the three chasers in the process, you'll arrive to a narrow room that has a bin in the middle of the two already mentioned boards. Interacting with it | In the room with the '''photo booth''', you'll find an Urotsuki toy in a box. Interacting with the box temporarily turns Urotsuki into a tiny (but surprisingly [[Yume 2kki:Effects#Bike/Motorcycle|fast]]) [[Yume 2kki:Masks/Others#Bean|Toy Urotsuki]]. Going into the photo booth lets Urotsuki take a picture for 10[[Yume 2kki:Money|夢]], and interacting with the left side of the booth lets you see the picture, which will just show our usual, sleepy Urotsuki. There's a small chance for Urotsuki to have a completely blank face and a silhouette behind her in the picture. Trying to take more than one photo without exiting and re-entering the room just plays one of Urotsuki's «i can't» lines. There's also a small chance of finding another [[Yume 2kki:Minor Characters#Vivian|girl]] in the photo booth, and you'll be able to see her picture as well. | ||
Heading up again, you'll arrive in a room full of Urotsuki toys. Three of these act as [[Yume 2kki:Chasers|chasers]], and if they catch you, they'll turn Urotsuki into a toy and deposit her into a wall. From here, you'll only be able to wake up, use the [[Yume 2kki:Effects#Eyeball Bomb|Eyeball Bomb]] effect, or fly out with the [[Yume 2kki:Effects#Bat|Bat]] effect if it was set prior to being caught. However, if you get caught after taking a photo in the photo booth, the chasers will instead drop Urotsuki in front of the photo booth. | |||
After you manage to go down through the left side, avoiding the three chasers in the process, you'll arrive to a narrow room that has a bin in the middle of the two already mentioned boards. Interacting with it plays canned applauses and cheers. Going down again leads to a room that has a connection to [[Yume 2kki:House of Vases|House of Vases]] at the bottom. There is also a small cartridge, interacting with it turns Urotsuki into the [[Yume 2kki:Masks/Others#Bean|Topdown Sprite]] seen in [[Yume 2kki:Topdown Dungeon|Topdown Dungeon]]. | |||
==Directions== | ==Directions== | ||
* The Nexus → [[Yume 2kki: | *The Nexus → [[Yume 2kki:Red Streetlight World|Red Streetlight World]] → [[Yume 2kki:Monochrome Street|Monochrome Street]] → [[Yume 2kki:Nefarious Chessboard|Nefarious Chessboard]] → '''Thrift Shop''' | ||
* The Nexus → [[Yume 2kki: | *The Nexus → [[Yume 2kki:Pudding World|Pudding World]] → [[Yume 2kki:Pillar Ark|Pillar Ark]] → [[Yume 2kki:Nefarious Chessboard|Nefarious Chessboard]] → '''Thrift Shop''' | ||
==Trivia== | ==Trivia== | ||
* This area features several signs depicting the walking pudding candles from | *This area features several signs depicting the walking pudding candles from Pudding World. | ||
* | *The '''Bathroom Sector''' was removed in version 0.122f, and a revamped version was added in version 0.126e. | ||
===Old Images=== | ===Old Images=== | ||
<gallery> | <gallery> | ||
Thrift Bathroom.png | |||
Thrift Doll 1.png | |||
Thrift Doll 2.png | |||
</gallery> | </gallery> | ||
==Gallery== | ==Gallery== | ||
<gallery> | <gallery> | ||
Thrift Big.png|The large Urotsuki near the [[Yume 2kki:Nefarious Chessboard|Nefarious Chessboard]] entrance. | |||
Thrift Sign.png|The sign that must be kicked over with the [[Yume 2kki:Effects#Twintails|Twintails]] effect and leads to the [[Yume 2kki:Omurice Labyrinth|Omurice Labyrinth]]. | |||
2kkiThriftShopBathroomEntrance.png|Entrance to the '''Bathroom Sector'''. | |||
2kkiThriftShopBathroom1.png | |||
2kkiThriftShopBathroom2.png | |||
2kkiThriftShopBathroom3.png | |||
2kkiThriftShopBathroom4.png|Going down from here leads to an isolated section of [[Yume 2kki:Pastel Mall|Pastel Mall]]. | |||
Thrift_Foggy.png|To [[Yume 2kki:Foggy Remnants|Foggy Remnants]]. | |||
Thrift Walk.png | |||
ThriftShop_Photobooth.png|The photo booth. | |||
ThriftShop_DollMask.png|The Toy Urotsuki [[Yume 2kki:Masks/Others#Bean|mask]]. | |||
ThriftShop_Photobooth2.png | |||
ThriftShop_PhotoboothResult.png | |||
ThriftShop_PhotoboothRareResult.png | |||
ThriftShop_PhotoboothScorpion.png | |||
ThriftShop_ScorpionPhoto.png | |||
Thrift Caught.png|Urotsuki as a toy when caught by the other toys. | |||
Thrift_Shop1.png | |||
2kki top down temp effect in game.png|The Topdown Sprite mask and the connection to [[Yume 2kki:House of Vases|House of Vases]] below. | |||
</gallery> | </gallery> | ||
Latest revision as of 21:41, 28 January 2025
| Thrift Shop | |
|---|---|
 Entrance to Retro Cartridge Game. | |
| Basic Info | |
| Japanese Name(s) |
子供マーケット |
| Effects | None |
| Masks | Toy Urotsuki, Topdown Sprite |
| Events | None |
| Notable NPCs | Toy Urotsukis, Vivian |
| Other | |
| Connecting Areas | Nefarious Chessboard Retro Cartridge Game Foggy Remnants Omurice Labyrinth 🔑 ✨ House of Vases Pastel Mall 🚩 |
| BGM | 🔊 ann (No. 064C) 🔊 ann – Bathroom Sector (No. 064E) |
| Map ID | 2268, 2567 |
| Version Added | 0.120d patch 6 |
| Last Updated | 0.126e |
| Primary Author | Bean |
| Contributing Author(s) | Yasakoten, 2i9, luok, oneirokamara |
Thrift Shop is an area accessible from the Nefarious Chessboard.

Features
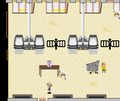
Thrift Shop, as the name implies, is a thrift shop with tons of different items. There are many people shopping here, scattered throughout the area.
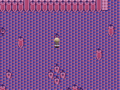
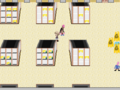
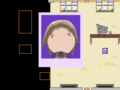
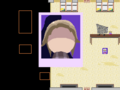
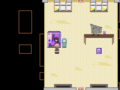
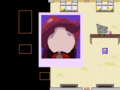
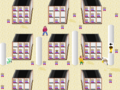
Starting from the Nefarious Chessboard, you'll arrive in a room that's full of shopping carts. Near the left side of the room, there is a poster with a creature from Pudding World and an arrow pointing left. Sticking to the left side lets you see the adjacent room; in it, you'll be able to see some tiny Urotsuki toys surrounding a comically large Urotsuki.
Going down in the room with the shopping carts, you'll arrive near a board featuring Urotsuki's face, in an area with some closed gates, of which the rightmost one is open. On the top right side of this room, going up the path near the board featuring a yen symbol brings you to a room with a photo booth (see below). Below the Urotsuki board on the very left is an entrance to the Bathroom Sector.
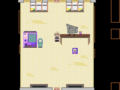
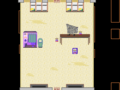
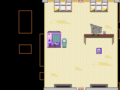
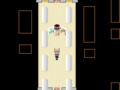
The Bathroom Sector is a restroom filled with toilets, urinals, mirrors and sinks that are scattered around the area. In here, there is a extremely tall urinal that Urotsuki can go behind, which takes her to an isolated area of the Pastel Mall. Left of the tall urinal is a blocked path with two unreachable restroom person signs.
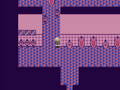
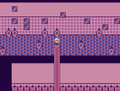
Continuing on the main area, going down into the next room you'll find cans and another Pudding Person poster. There is a sign on the right that can be kicked down by using the Twintails effect, which allows you to access a red-yellow puddle from a lone can. Stepping into the middle of the puddle transports you to Omurice Labyrinth.
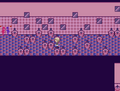
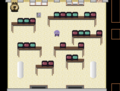
Further down into the next room, takes you to a larger area filled with store shelves and faceless shoppers. At the very left of this area is a big metal grate of sorts with some pink substance oozing out from the bottom. It lies in the middle of the room facing east and when walked through, leads to Foggy Remnants. Continuing through the top right doorway leads to a room full of TVs, one of which is static-filled. Interacting with it brings you to Retro Cartridge Game.
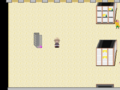
In the room with the photo booth, you'll find an Urotsuki toy in a box. Interacting with the box temporarily turns Urotsuki into a tiny (but surprisingly fast) Toy Urotsuki. Going into the photo booth lets Urotsuki take a picture for 10夢, and interacting with the left side of the booth lets you see the picture, which will just show our usual, sleepy Urotsuki. There's a small chance for Urotsuki to have a completely blank face and a silhouette behind her in the picture. Trying to take more than one photo without exiting and re-entering the room just plays one of Urotsuki's «i can't» lines. There's also a small chance of finding another girl in the photo booth, and you'll be able to see her picture as well.
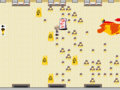
Heading up again, you'll arrive in a room full of Urotsuki toys. Three of these act as chasers, and if they catch you, they'll turn Urotsuki into a toy and deposit her into a wall. From here, you'll only be able to wake up, use the Eyeball Bomb effect, or fly out with the Bat effect if it was set prior to being caught. However, if you get caught after taking a photo in the photo booth, the chasers will instead drop Urotsuki in front of the photo booth.
After you manage to go down through the left side, avoiding the three chasers in the process, you'll arrive to a narrow room that has a bin in the middle of the two already mentioned boards. Interacting with it plays canned applauses and cheers. Going down again leads to a room that has a connection to House of Vases at the bottom. There is also a small cartridge, interacting with it turns Urotsuki into the Topdown Sprite seen in Topdown Dungeon.
Directions
- The Nexus → Red Streetlight World → Monochrome Street → Nefarious Chessboard → Thrift Shop
- The Nexus → Pudding World → Pillar Ark → Nefarious Chessboard → Thrift Shop
Trivia
- This area features several signs depicting the walking pudding candles from Pudding World.
- The Bathroom Sector was removed in version 0.122f, and a revamped version was added in version 0.126e.
Old Images


Gallery
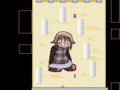
The large Urotsuki near the Nefarious Chessboard entrance.
The sign that must be kicked over with the Twintails effect and leads to the Omurice Labyrinth.
Entrance to the Bathroom Sector.
Going down from here leads to an isolated section of Pastel Mall.
To Foggy Remnants.
The photo booth.
The Toy Urotsuki mask.
Urotsuki as a toy when caught by the other toys.
The Topdown Sprite mask and the connection to House of Vases below.


- f4edca
- c5c5c5