| This page is missing information. You can help YumeWiki by expanding it. Details: Update outdated info (Passcode device new location, puni money amount, statues that indicate the hidden rooms, etc.) |
| Shadowy Caves | |
|---|---|

| |
| Basic Info | |
| Japanese Name(s) |
虚騒 |
| Effects | None |
| Events | None |
| Notable NPCs | Puni, Koro, Wireframe Robots |
| Other | |
| Connecting Areas | Dream Park ✨ Stone World Abyss of Farewells ✨ ➡️ Guardians' Realm ✨ |
| BGM | 🔊 drm_loop_44 (No. 424) 🔊 RIMA-bgm-recorder001 – Prize Room 🔊 風化 – Koro's shrine 🔊 903-suna001 – Rainbow Maze |
| Map ID | 1068 |
| Version Added | 0.110a |
| Last Updated | 0.124g patch 1 |
| Author | maptsuki |
The Shadowy Caves is an area accessible from a few areas in the Dream Park, most notably the blue fabric south of the entrance to the wooden maze building.

Features
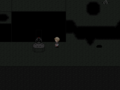
The Shadowy Caves is dark and noisy, filled with interesting variants on the main Chasers that are modeled in wireframe. Despite this fact, it is remarkably large and open. It is littered with dead Puni as well piles of the balls and sticks that make up your foes here. Although the path from the Dream Park is one-way, there are several ways to return, such as using the Bat effect to fly up out of the area when standing under one of the beams of light. There are two of these in the area, one leading to the northern section next to the giant tree, and one leading to the middle of the eastern section. Using this last one will unlock the connection from the eastern section of the Dream Park to the Shadowy Caves.
In the center of the area is a fenced-off hole next to two robot hands rising out of the ground. Access to the area is prevented by a rainbow-colored block that can be removed by doing specific actions in the Rainbow Maze.
Puzzle
Note: The following below describes spoilers for the main puzzle of the area. In addition, it is important to note that the passcode you get as a result of the puzzle only works if you haven't pressed any of the buttons before entering the area.
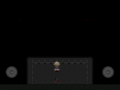
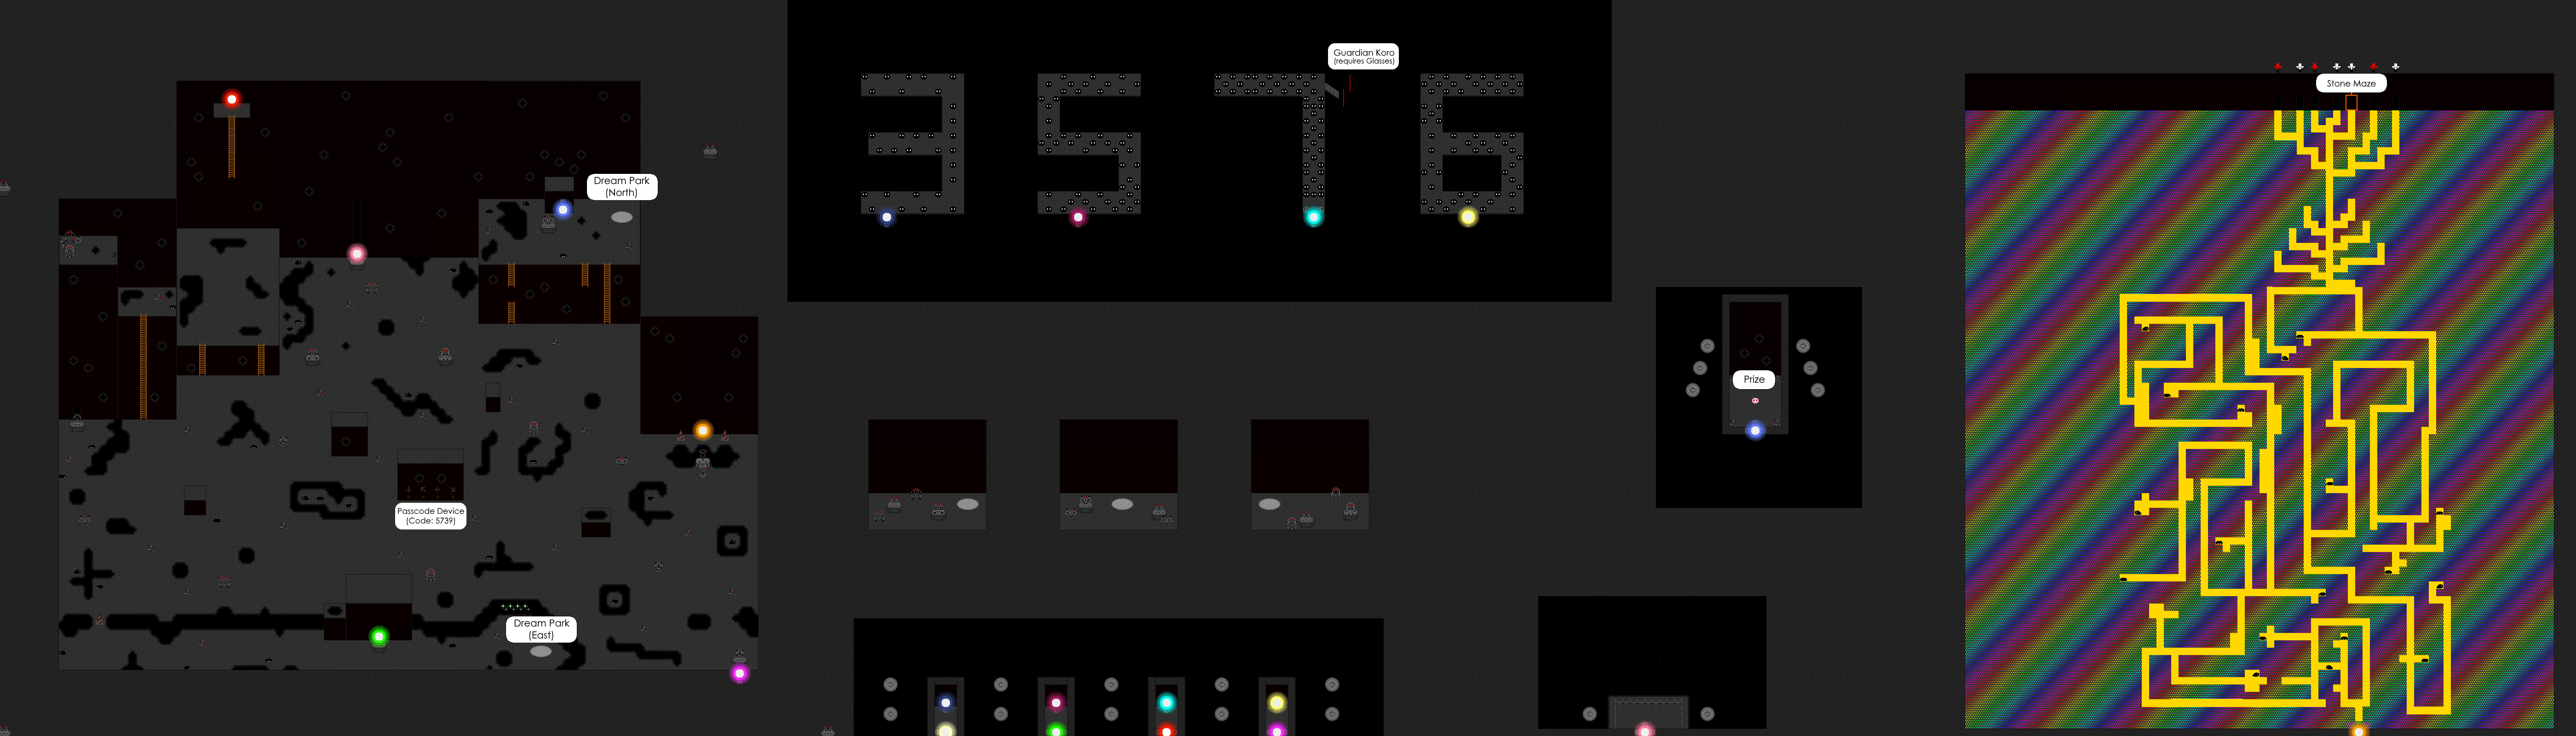
At the north-eastern of the main cave is a wall with four switches on it and 3x3 LED matrices above them, requiring a passcode. The representation of the numbers is similar to what is shown in the elevator of the Techno Condominium. In addition, there are several rooms, all hidden in some way as well as requiring entrance by chainsawing a wireframe chaser disguised as a cone, that are all shaped like a number and contain an inordinate amount of Puni. Just below these switches are peeping stones, showing the location to these rooms, indicating the passcode.
Spoilers:

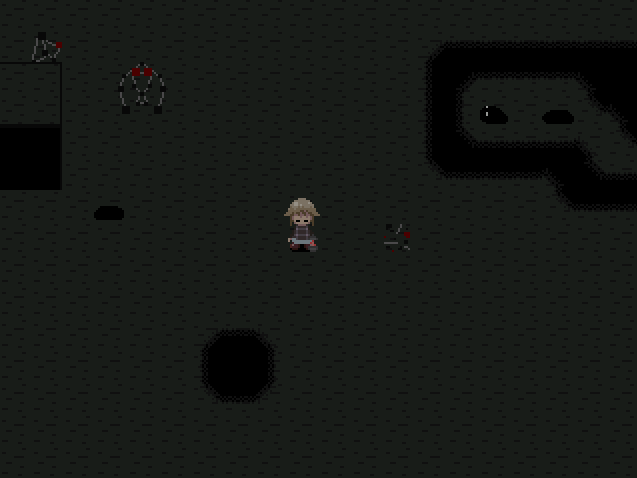
- The 5 room is directly south of the passcode device, hidden behind a wireframe of the Robot Guard. In addition, to access its entrance, one must chainsaw another wireframe disguised as a cone to reach the southernmost part of the cave.
- The 7 room is northwest of the passcode device. It is accessible by using the fairy effect to fly up to a ladder that is barely out of sight. Notably, it is also a passage to the Guardians' Realm.
- The 3 room, directly west of the passcode device, is hidden behind another Robot Guard wireframe.
- The 9 room is found on the southeast of the cave. Much like the 5 and 3 rooms it lies behind a Robot Guard, however the door is actually on the bottom wall, and the Robot Guard wireframe faces up. As a result, the orientation of the entire room is flipped, diverting the player to believe it indicates a 6.
One can work out that the passcode is 5739. Entering the passcode into the device allows the player to enter the door next to the switches, which leads to a small room containing a pink Puni with red eyes. The first time this puzzle is solved, interacting with her will lead to her presenting 50,000夢. Interacting with her after completing the puzzle again will lead to her presenting Urotsuki with a certain amount of money depending on the current Map Completion Rate (100夢 for every 1%). This can be repeated every dream session.
The entrance to the 5 Room, hidden behind a wireframe.
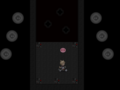
gives u a loooootta money


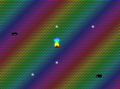
Rainbow Maze
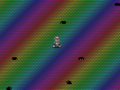
In addition to the major puzzle, there is one more door to be found, flanked by two wireframes disguised as cones. This will lead to an area reminiscent of the Static Maze of the original Yume Nikki, a winding maze where the player cannot see which areas can be walked on and which cannot, once again littered with dead Puni. However, the path through the maze can be found by using the Rainbow effect, causing small dots of light to appear and lead the path through. However, the dots wind around, and there are still dead ends, so it is no brainless task. The Rainbow Maze can only be accessed after visiting Stone World.
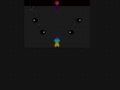
There are two paths of red-colored dots branching out from the main path that each lead to a small black building on the left and right side of the maze. The building on the right is empty apart from four pictures on the wall resembling numbers from the passcode device, and contains a door leading back to the entrance in the main part of Shadowy Caves. The building on the left contains two rainbow blocks with Puni circling them and a pipe-like structure with a white-colored opening. Interacting with the pipe with the Rainbow effect equipped will cause the screen to flash and de-equip the effect. The two rainbow blocks will turn into fence posts and the pipe's opening will now flash through various colors. After leaving through the back door and returning to the main part of Shadowy Caves, the rainbow block preventing access to the fenced-off hole will now be gone. Urotsuki can jump into the hole and fall down to the Abyss of Farewells.
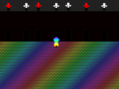
Finally, at the end of the maze, the player is presented with seven doors, all accessible from different parts of the passage leading up to it, with arrow NPCs all standing above them. Six of the seven doors will trap the player in an inescapable area; the correct one is the third from the right, which will lead the player to Stone World if they have been there before.
Directions
- The Nexus → Marijuana Goddess World → Dark Room → Tribe Settlement → Dream Park → Shadowy Caves
Trivia
- The main section of this area is modeled after Urotsuki's Room in terms of layout.
Gallery
The balcony accessible from the north wall.
I'm lost!
Now I'm lost AGAIN.


- 101010
- 7a0000