| Sign World | |
|---|---|

| |
| Basic Info | |
| Regional Name(s) |
標識 |
| Effects | None |
| Collectibles |
WP #25 |
| Events | None |
| Notable NPCs | None |
| Other | |
| Connecting Areas | Bug Maze Power Plant Teleport Maze Haniwa Temple Valentine Land Birch Forest Construction Sign World |
| BGM | 🔊 rec2 (No. 048A and 048C) 🔊 rec2 – Sign Path (No. 048B) |
| Map ID | 0165, 0166, 0220 |
| Version Added | 0.089b |
| Last Updated | 0.121 patch 1 |
| Primary Author | oudn |
| Contributing Author(s) | Nabisae, Stheven, Yumebako |
Sign World is a colorful world accessible from the grey sign in the Bug Maze.

Features
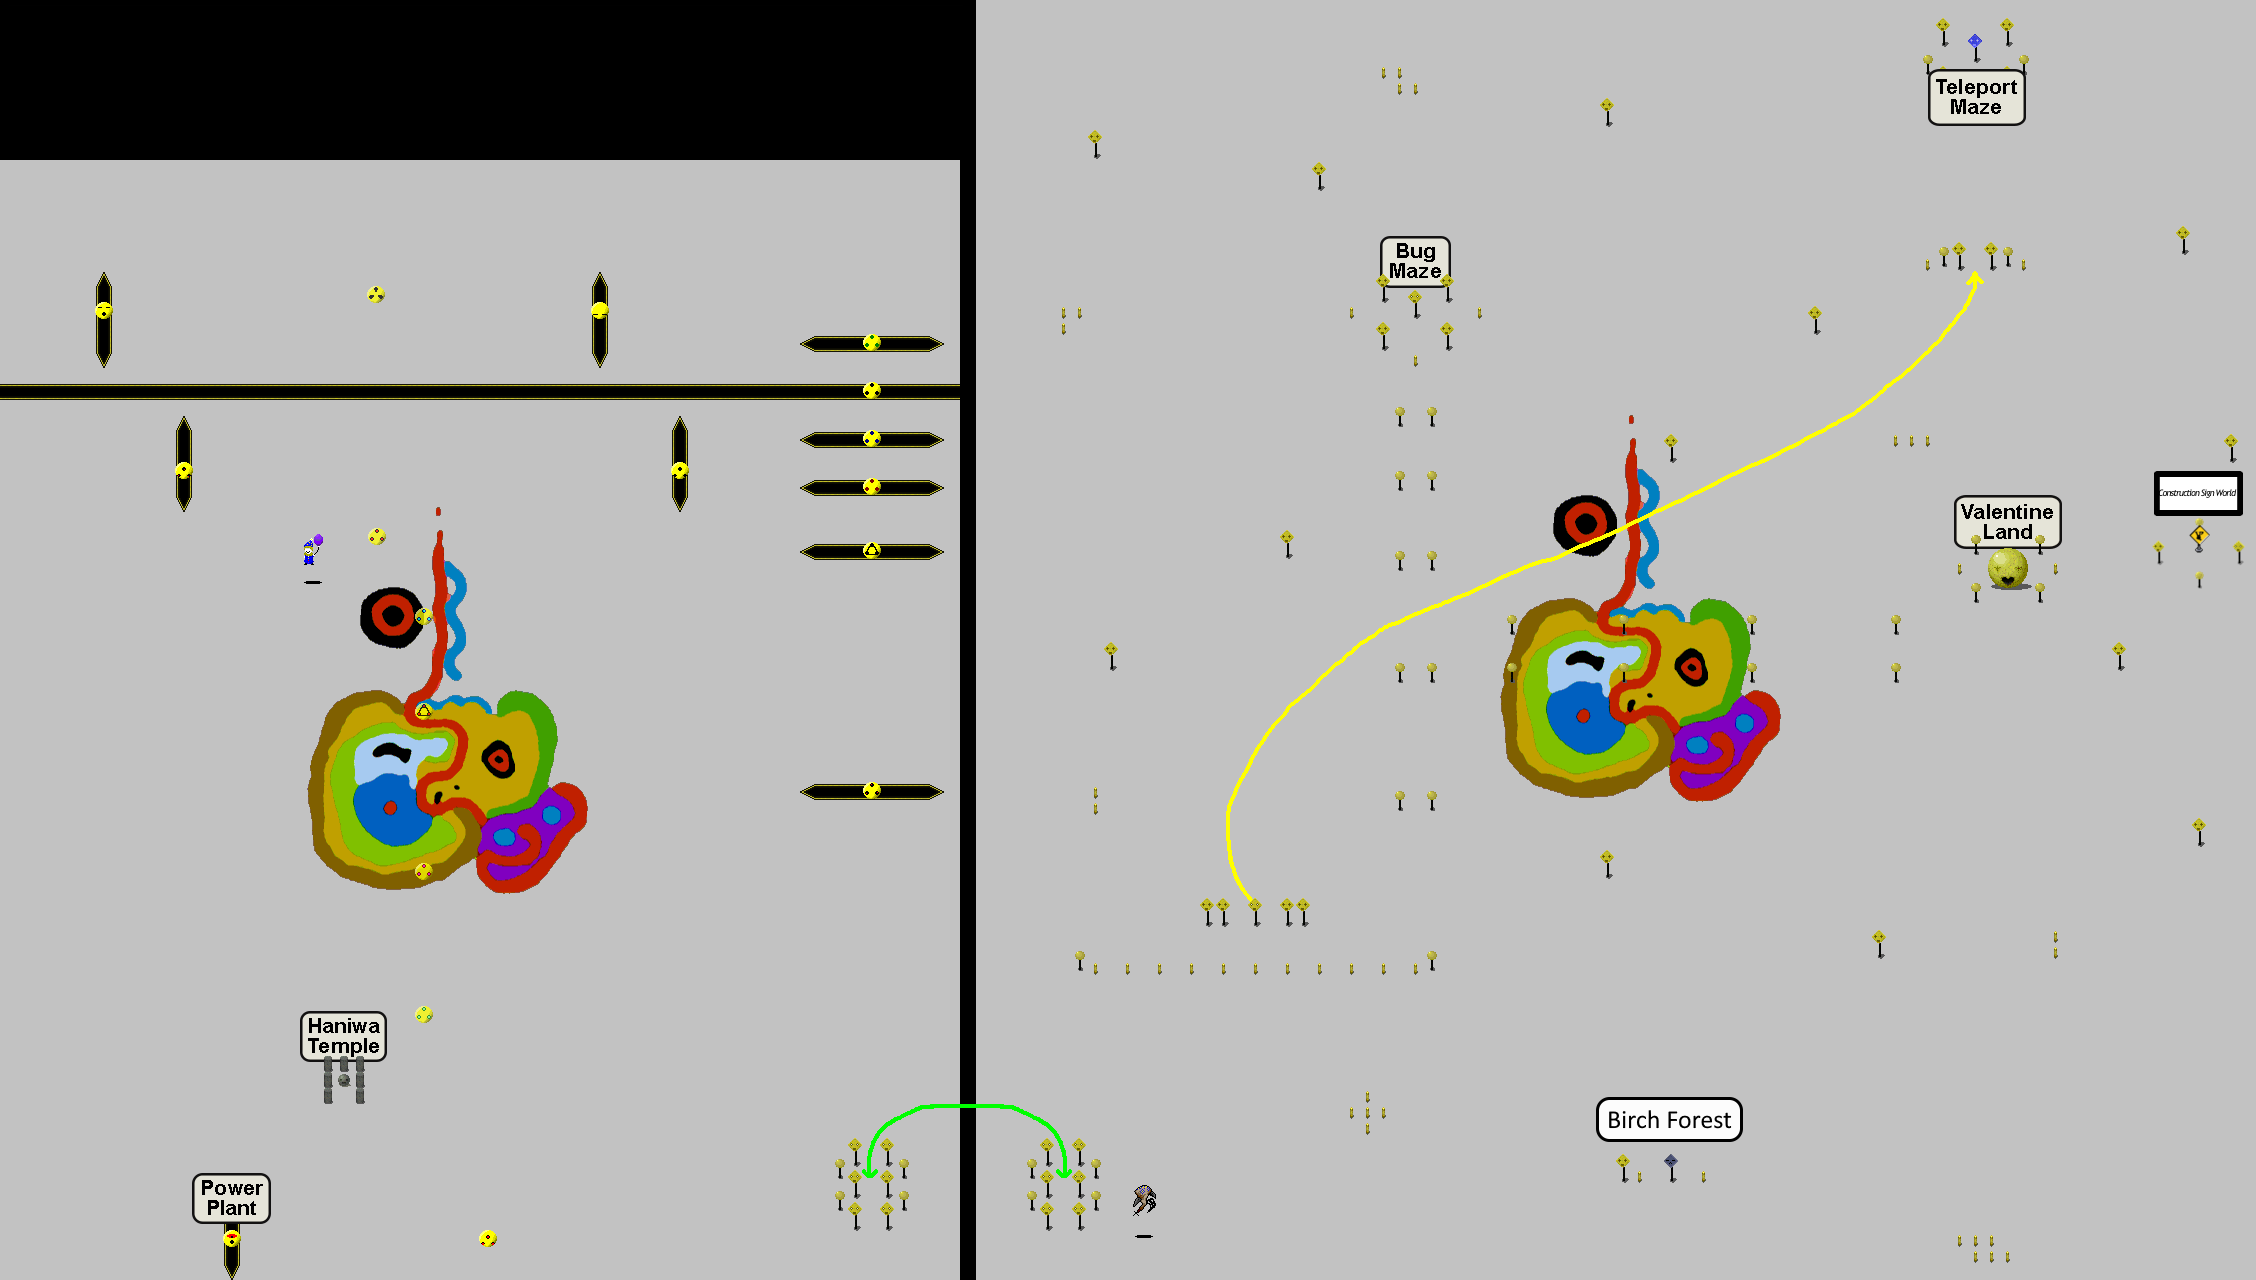
Sign World is fairly large, divided into Sign World A and Sign World B. The primary entrance from the Bug Maze will drop the player in Sign World A.
Sign World A
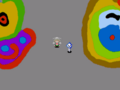
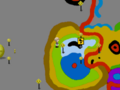
Immediately upon entrance, a path of signs beckons the player south, and later another one beckons them east. If one takes the east path, they will encounter a large orb with two eyes and a heart-shaped hole as a mouth, making it look quite happy. Entering its mouth will take you to a pink heart-shaped hall with two exits at the bulbs; either one of them will take the player to Valentine Land. Immediately east of the orb is a rotating construction sign leading to Construction Sign World.
Continuing to go south will direct the player towards a line of poles, which in turn directs the player to a white-eyed sign surrounded by four with black eyes. Interacting with it will take the player to a short little "maze" of signs, where if they navigate to the bottom fast enough, they're taken to a set of signs just south of a bright blue one that leads to the Teleport Maze. If one does not wish to pass through this maze, one can also find the blue sign by traveling north of the entrance to Valentine Land. Just northwest of the Teleport Maze entrance is a sign with closed eyes that leads to Birch Forest.
Sign World A is constructed to expertly corral the player, but there is one path it doesn't directly give the player any directions to. The entrance to Sign World B can be found by taking the path from the Bug Maze south until they encounter the row of poles again, then continuing to the west before heading south at the end of the pole line. One will find a strange brown fish creature, as well as a symmetrical configuration of ten signs, with a path through the middle. Walking or biking through this path leads one to Sign World B.
Sign World B

Sign World B is filled with many black lanes, and yellow orbs with patterns drawn on them rolling across the field. This map is smaller than Sign World A and a bit harder to navigate. Whenever one of the completely opaque orbs is interacted with, it will play a motorcycle sound and speed up.
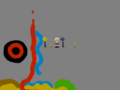
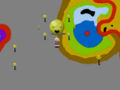
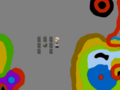
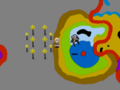
If one travels directly east from the entrance from Sign World A, they will encounter a grey orb surrounded by seven grey pillars. Interacting with the orb takes Urotsuki to the Haniwa Temple. In addition, one of the yellow orbs has one black dot and what appears to be a pair of lips or a red eye drawn on it. If one can successfully walk into this orb, they will be taken to the Power Plant. The orbs can be stopped by using the Crossing effect.
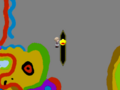
A floating clown with a balloon roams around this area. If you use the Crossing effect, the clown transforms into a green spider that resembles the one in the Scenic Outlook.
Directions
- The Nexus → Mushroom World → Bug Maze → Sign World
- The Nexus → Heart World → Valentine Land → Sign World
- The Nexus → Ornamental Plains → Birch Forest → Sign World
Trivia
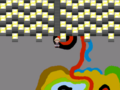
- One used to travel between the two versions of Sign World by climbing a pyramid. Its stones resembled the optical illusion shown below, where the placement of the black and white squares causes the lines to appear slanted.
- The brown creature near the warp to Sign World B will become invisible and have two shadows if the Crossing effect is used. The clown that turns into a spider also has two shadows if the Crossing effect is used.
Old Images
The old pyramid that teleported you from Sign World A to Sign World B. As of 0.104e, it has been removed.
Hey, look! Why's this sign so bright...?


Gallery
Connection to Birch Forest.
Connection to Valentine Land.
Connection to Construction Sign World.
Connection to Haniwa Temple.
The ball that sends you to Power Plant.
Entrance to Sign World B.
The Sign Path.


- 808080
- ffff33