| Dark Warehouse | |
|---|---|
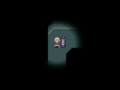
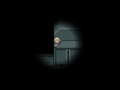
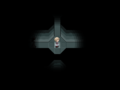
 Portal to the Chaos Exhibition. | |
| Basic Info | |
| Regional Name(s) |
チタババ |
| Effects | None |
| Collectibles |
WP #256 |
| Events | None |
| Notable NPCs | Shadow Lady |
| Other | |
| Connecting Areas | Seaside Village Chaos Exhibition Container Forest Rusted City 🔒 Urotsuki's Dream Apartments 📞 |
| BGM | 🔊 yumepo4 (No. 353A) |
| Map ID | 0145 |
| Version Added | 0.106 |
| Last Updated | 0.123b patch 12 |
| Primary Author | kuraud |
| Contributing Author(s) | kappa |
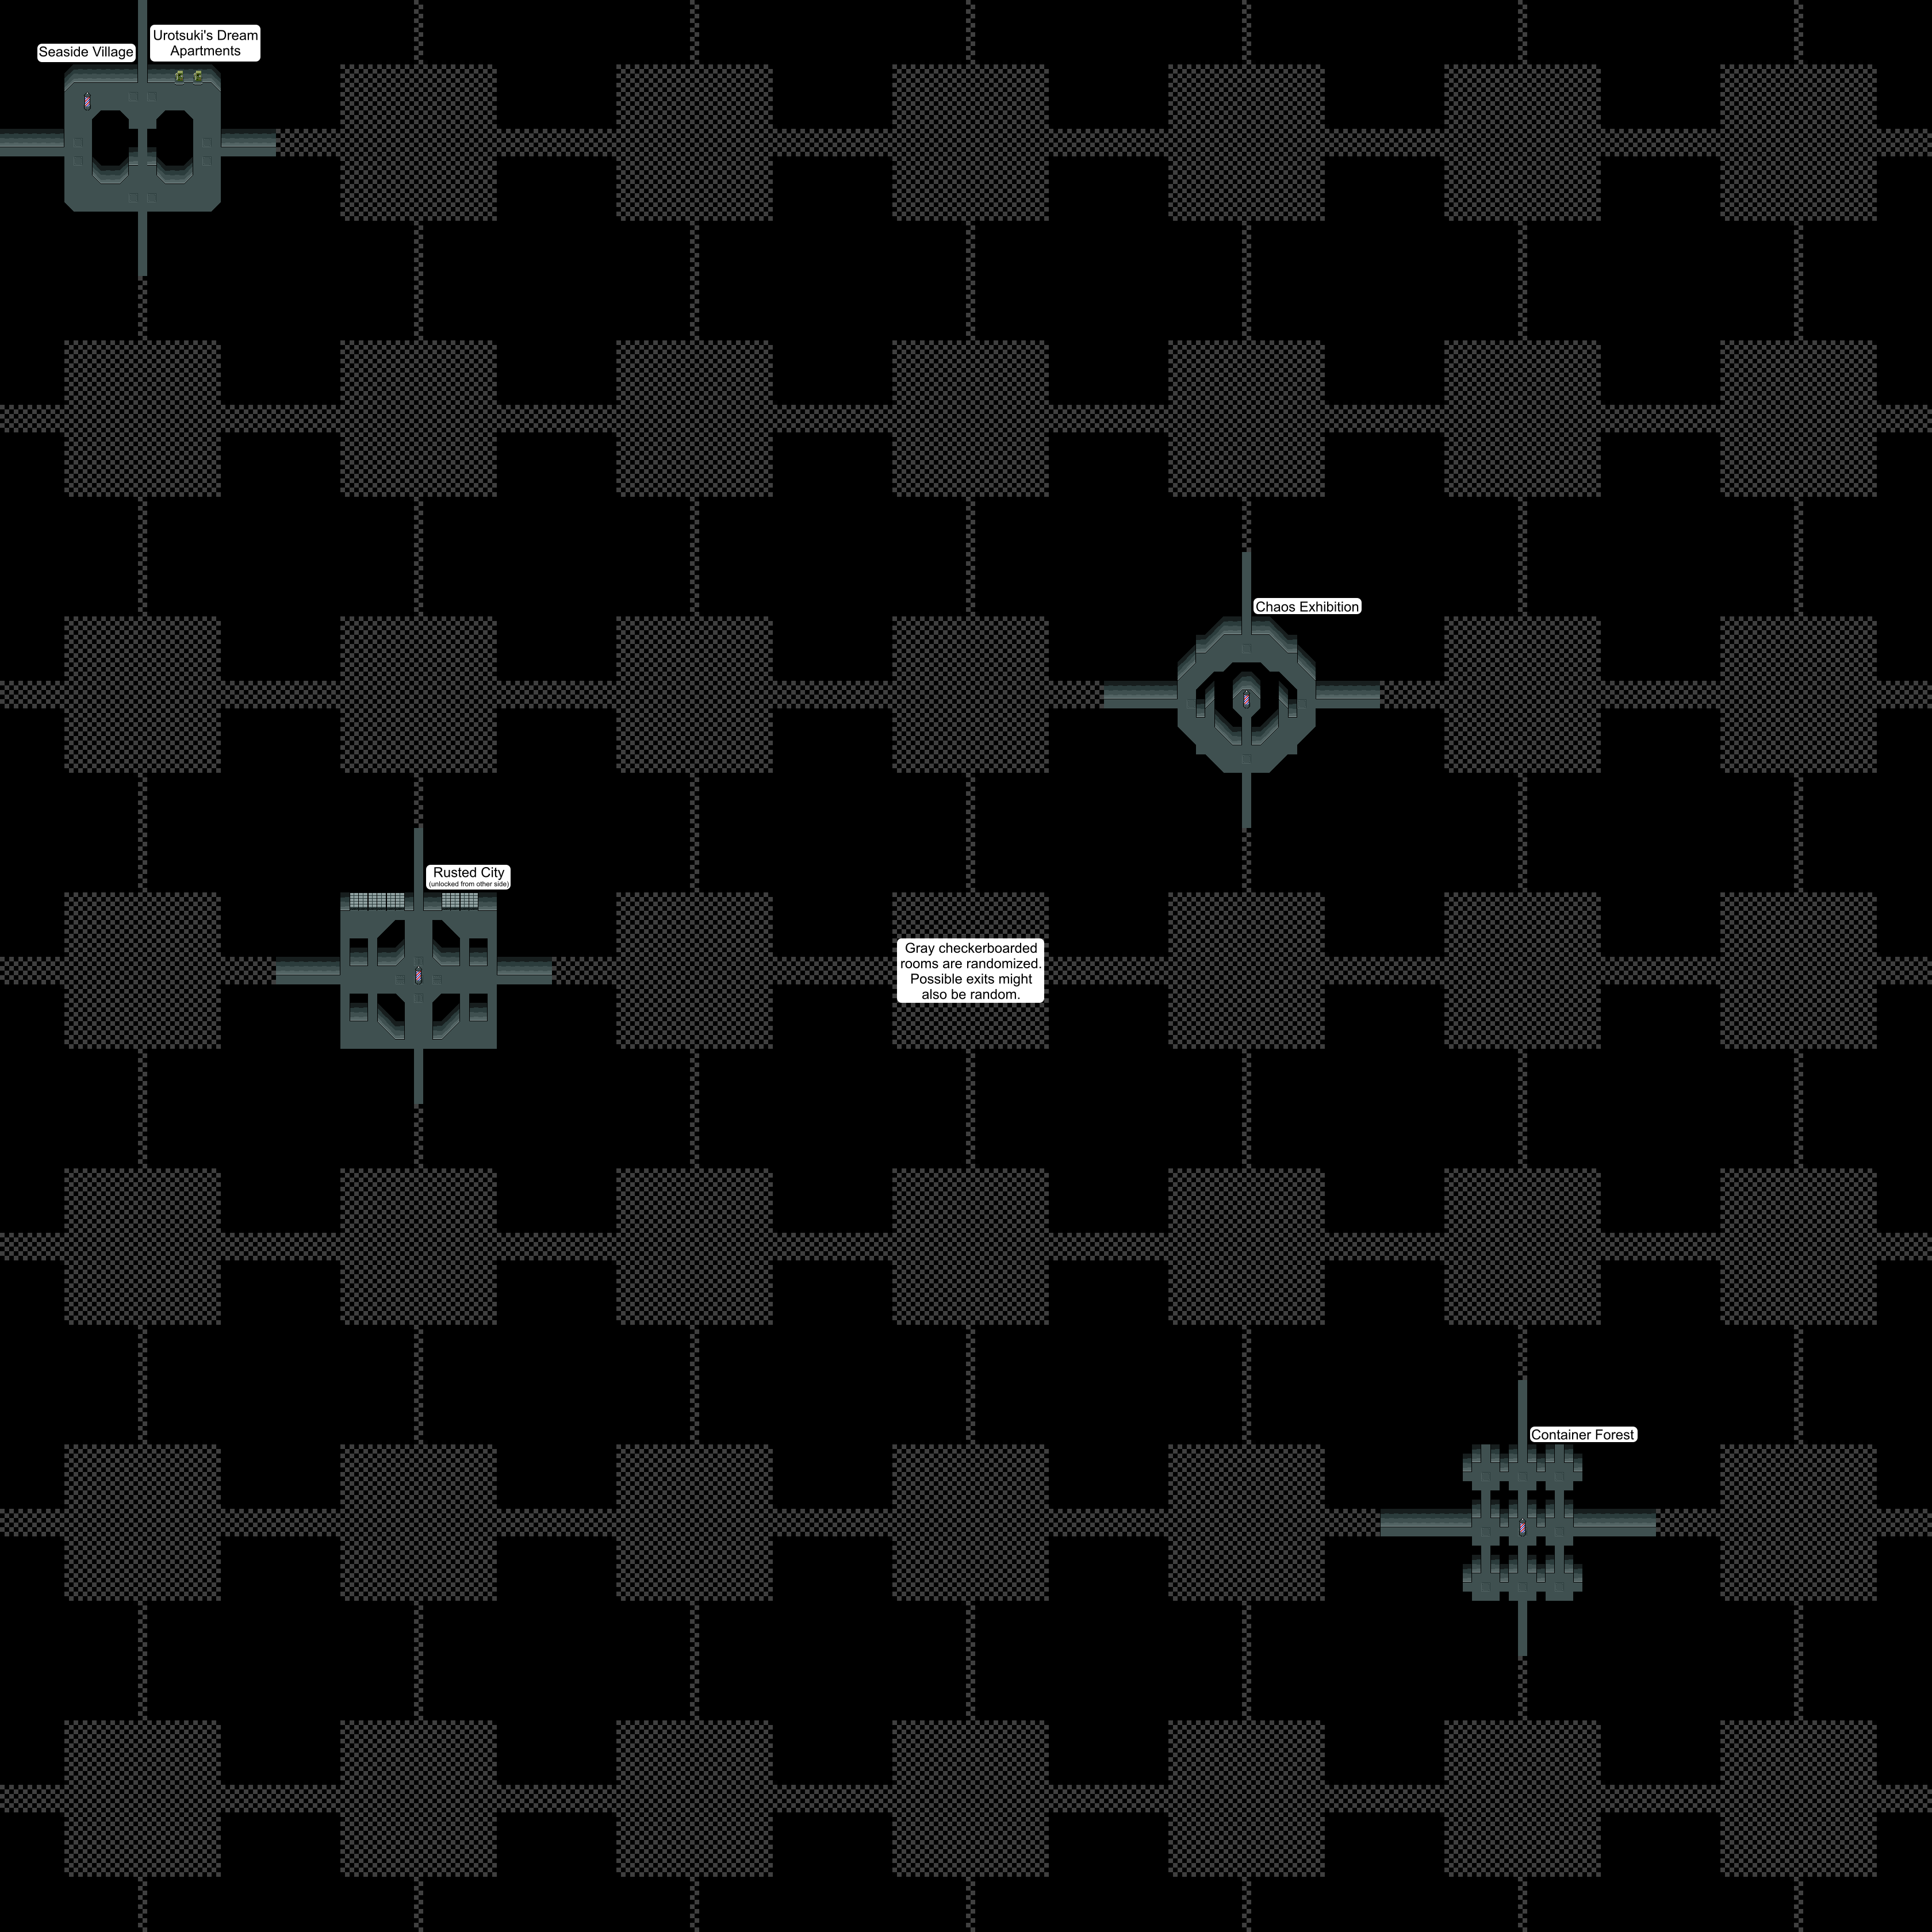
The Dark Warehouse is a world that connects the Seaside Village, Chaos Exhibition, Rusted City, and Container Forest.

Features
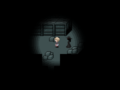
The Dark Warehouse, as the name implies, is intensely dark. Even with the Lantern effect equipped, you can only see a few tiles around Urotsuki at any one time. It is mainly bluish-grey, filled with boxes, drawers, and alarm clocks of the same color as the walls. Some of the rooms contain white tiles that, like the violet and lavender tiles in Toy World, will cause Urotsuki to slide forward unless she has either Fairy or Spacesuit effect equipped. Walking behind one of the leftmost large containers will occasionally give Urotsuki 100夢.
One of the areas with nine single white tiles changes more rapidly, and Urotsuki may be able to pass through walls in the area. If the Glasses are equipped, the walls that can be passed through will become transparent.
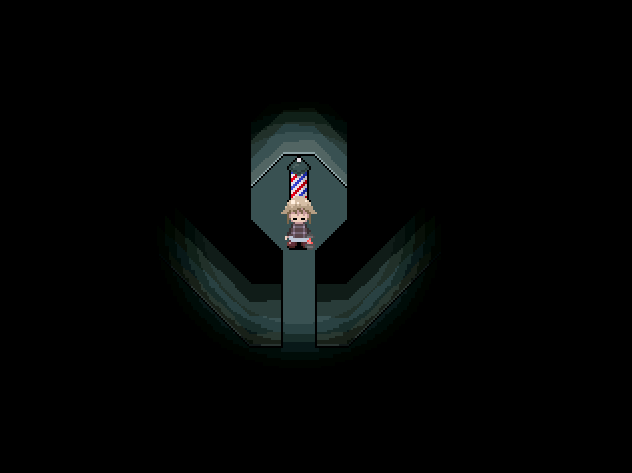
Travel in and out of this area is exclusively facilitated by barber poles, unless you wish to enter from the Chaos Exhibition, in which the portal takes the form of an alarm clock floating above one of the gear pedestals in the place of an embryo.
Perhaps the most important feature of this area, although not its most obvious one, is its layout. The Dark Warehouse is incredibly complex, as its various rooms rearrange themselves and change their own layouts as Urotsuki explores them. In addition, going in the same directions from the same starting point will not always lead you to the same place, and returning in the directions you came from will not always lead you back to your starting point. Interacting with a clock will force a layout change.
Despite the seemingly random layout, this area is actually a 7x7 grid of rooms that loops around both ways, and all of the rooms with barber poles connecting to other areas are always located in the same place. This means that as long as you keep track of Urotsuki's position in the "room grid", you can consistently navigate this area. The "grid coordinates" of each room (where (0, 0) is the top-left, right is +X, down is +Y) is:
- Seaside Village and Urotsuki's Dream Apartments: (0, 0)
- Chaos Exhibition: (4, 2)
- Rusted City: (1, 3)
- Container Forest: (5, 5)
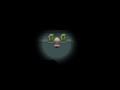
It is also important to note that not only is this area difficult to explore, it is also dangerous. One Shadow Lady can be found in this area if Urotsuki has dreamed at least 30 times and at least one of the following conditions:
- The blue creature at the top of the Day and Night Towers or any Shadow Lady in that area have been chainsawed recently (This gets reset by getting caught by any Shadow Lady in Toy World or French Street).
- Urinating in one of the walls at the entrance of Japan Town by using the Boy effect.
- 1/64 chance.
Due to the very limited field of view, tight corridors, and the fact that it spawns randomly, it is bar none the most dangerous Chaser in the entire game. Using the Bike effect is highly discouraged because of this, except when fleeing the Shadow Lady; instead, it is recommended that the player constantly have the Lantern effect equipped to restrict Urotsuki's speed during normal exploration, and to expand her field of view to more easily see her. Equipping either the Shadow Lady or Enraged Shadow Lady mask makes the Shadow Lady sane and no longer chase Urotsuki. In general, take extreme caution while exploring this area.
The following effects are recommended to get before exploring the area:
- Motorcycle: Although risky as mentioned above, it can still be used to speed up the exploration process if one is confident enough in their reflexes to avoid the Shadow Lady.
- Chainsaw: Used to cut down the occasionally boarded up doors.
- Lantern: Can be used to slightly increase Urotsuki's field of view.
- Glasses: Can be used to see passable walls that are normally invisible.
- Fairy/Spacesuit: Both can be used to bypass the sliding tiles, although the Fairy effect is faster.
- Spring: Can be used to jump up and down a ledge in a certain room, which under certain rare circumstances can prevent you from getting stuck.
- Maiko/Gakuran: Can be used to open the shoji doors in some of the rooms. This is also useful to escape some of the chaser's traps when caught.
- Marginal: Can be used to switch the open passages in the rooms with a circular icon on the floor.
- Bat: Allows the player to escape out of the chaser's trap if a spot has been marked before. It also allows the player to come back at a key spot at will, such as an entrance door.
- Haniwa: Allows you to move down file cabinets in some of the rooms. This is also useful to escape some of the chaser's trap and continue exploring the area if caught.
- Invisible/Crossing: When activated, it practically nullifies the threat that the chaser poses. The Crossing effect completely stops her, unlike the Invisible effect, although it has a higher startup lag and is thus less useful as a panic button.
- Eyeball Bomb: In order to escape when you are trapped by the Shadow Lady.
The Tissue effect is disabled in this area, preventing you from placing tissue markers.
Directions
- The Nexus → Red Streetlight World → Bridged Swamp Islands → Rapeseed Fields → Seaside Village → Dark Warehouse
If the connection from Urotsuki's Dream Apartments to Sugar Road is active:
- The Nexus → Urotsuki's Dream Apartments → Sugar Road → Chaos Exhibition → Dark Warehouse
If the connection from Urotsuki's Dream Apartments to this area is active:
- The Nexus → Urotsuki's Dream Apartments → Dark Warehouse
Trivia
- Tick Tack Bang Bang (チクタクバンバン), the basis of this area's original name, is the Japanese name of the tabletop game Block the Clock.
Gallery
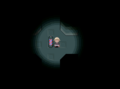
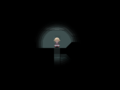
Portal to the Seaside Village
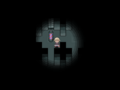
Portal to the Rusted City
Portal to the Container Forest

The room in which the pole to Container Forest appears
Chainsaw-able
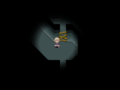
The location of the occasional 100夢
Urotsuki watch out!
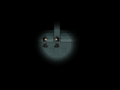
The Shadow Lady with her mask equipped.
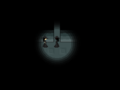
Ditto, enraged mask version.
The rapidly changing room with pass-through walls
A pass-through wall made transparent
Phones to Urotsuki's Dream Apartments


- 000000
- A9BAB7