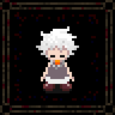
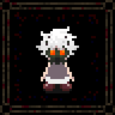
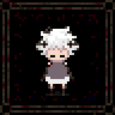
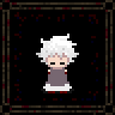
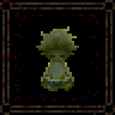
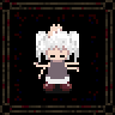
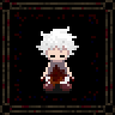
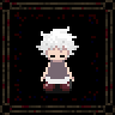
| This page is missing information. You can help YumeWiki by expanding it. Details: Add a few more details to Effect locations. Refer to Yume 2kki's Effects page for a guideline. Also, images of the Television effect's screens.) |
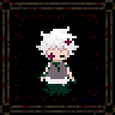
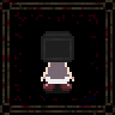
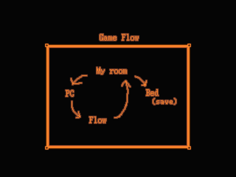
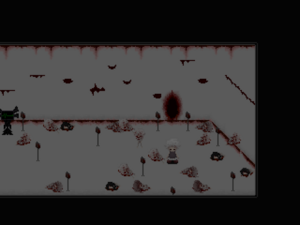
There are 24 Effects in .flow that Sabitsuki can collect. Each effect will change Sabitsuki's appearance when equipped, and some of them give Sabitsuki unique abilities, such as the ability to hurt NPCs or move faster, or otherwise allow her to trigger specific events throughout her dream world.
Collecting every Effect is generally considered to be the game's main objective. Doing so will allow Sabitsuki to trigger the game's first ending by leaving her room in reality.
Spoilers:
Obtaining every effect also allows Sabitsuki to transform into Rust through her dream computer, dramatically changing her mental world, opening new, exclusive locations, and ultimately allowing her to access the remaining two endings. After turning into Rust, three more collectibles, known as Empty Boxes, can be found in locations that Sabitsuki refused to enter. Gathering all three unlocks a new area accessible through Sabitsuki's dream room, which leads to the game's final ending.
Spoilers end here.Effects
Headphones
(ヘッドフォン)
Put on headphones.
Appearance: Sabitsuki wears headphones.
Passive Effect: None.
Action: The headphones plays three random notes in succession.
Directions: Entrance → Music World
From Music World's entrance, head north-east until you find a DJ at a table. Interact with him.
Practical Uses: None.
Ghost
(ゆうれい)
Become a ghost.
Appearance: Sabitsuki becomes a ghost.
Passive Effect: None.
Action: Become invisible.
Directions: Entrance → Dysmorphic World → Footprint Path → Plant Corridors → Flower World
Interact with the ghost in Flower World.
Practical Uses: When invisible, Chasers will not pursue Sabitsuki, making navigation of certain areas much easier. Needed to enter the Corrupted School.
Iron Pipe
(てつパイプ)
Wield an iron pipe.
Appearance: Sabitsuki hold an iron pipe.
Passive Effect: Some NPCs will run away.
Action: Upon interaction with NPCs, Sabitsuki will strike and kill them. If Shift is pressed, she will hang the pipe over her shoulder.
Directions: Found by interacting with the bloody pipe in Utility Pole World. Alternatively, it can be obtained by completing the Alleyway Chase event in Town.
Practical Uses: Can be used to obtain money by killing NPCs. Necessary to access or trigger certain events, such as opening the entrance to the Childbirth event or facing the Bar Kaibutsu's retaliation.
Mono Eye
(モノアイ)
Become a Mono Eye.
Appearance: Sabitsuki has one red eye.
Passive Effect: None.
Action: Sabitsuki's eye blinks.
Directions: Found by interacting with the eye surrounded by two ghosts and a pillar in Dysmorphic World.
Practical Uses: None.
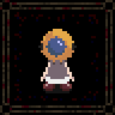
Diving Helmet
(せんすいふく)
Equip a Diving Helmet.
Appearance: Sabitsuki wears a diving helmet.
Passive Effect: None
Action: Bubbles float from the top of the helmet.
Directions: Found by interacting with Oreko in her house in Submarine World.
Practical Uses: Interacting with Oreko with the Diving Helmet equipped decreases the Erosion Counter by ten points. It also grants an additional five Friendship Meter points when interacting with her, stacking with the five points granted when talking to her without the Diving Helmet equipped.
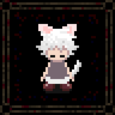
Cat
(ねこ)
Become a cat.
Appearance: Sabitsuki grows cat ears and a tail. When transformed into a cat, she has a pure white coat, and red eyes.
Passive Effect: None.
Action: Lets you transform into a cat.
Directions: Found by interacting with the cat at the end of the Rainbow Maze.
Practical Uses: Lets Sabitsuki crawl into smaller areas that she otherwise could not get to.
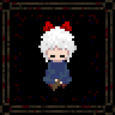
Broom
(ほうき)
Ride a broom.
Appearance: Sabitsuki rides a broom and has a red ribbon in her hair, similar to Kiki from Kiki's Delivery Service.
Passive Effect: Allows Sabitsuki to go twice as fast.
Action: Dismounts the broom, letting Sabitsuki walk around at normal speed while still wearing the outfit.
Directions: Found by interacting with the witch in the Witch's House in Famicom World.
Practical Uses: Allows Sabitsuki to move around her dream world faster and easily outmaneuver chasers. Can be used to trigger the Flight event in the Rainbow Maze.
Watering Can
(じょうろ)
Hold a watering can.
Appearance: Sabitsuki holds a watering can.
Passive Effect: None.
Action: Can make it rain with 3 different settings, light rain, normal rain, or heavy rain.
Directions: Found by interacting with the ghost holding a watering can in Plant World.
Practical Uses: None.
Whistle
(ホイッスル)
Hold a whistle in your mouth.
Appearance: Sabitsuki holds a whistle in her mouth.
Passive Effect: None.
Action: When used, all NPCs will move in the direction Sabitsuki is facing.
Directions: Found by interacting with the whistle on the ground in Visceral World.
Practical Uses: Can move certain NPCs out of the way.
Gas Mask
(ガスマスク)
Wear a gas mask.
Appearance: Sabitsuki wears a gas mask.
Passive Effect: None.
Action: Sabitsuki raises the gas mask, showing the left side of her face.
Directions: Found by interacting with the plant emitting smoke in Plant Corridors.
Practical Uses: None.
Machine
(きかい)
Become a machine.
Appearance: Sabitsuki has machine parts attached to her body, replacing some limbs.
Passive Effect: None.
Action: None.
Directions: Found by interacting with a desk in Star World.
Practical Uses: None.
Daruma
(だるま)
Become an Daruma.
Appearance: Sabitsuki has no limbs, and there is blood coming out of the appendages.
Passive Effect: Sabitsuki will move slower. She also cannot pinch herself awake due to her lack of arms.
Action: Sabitsuki falls over, walks even slower, and cannot get back up due to having no limbs.
Directions: Found behind the cleaner in the back room in Sugar Hole.
Practical Uses: None.
Slime
(スライム)
Become a Slime.
Appearance: Sabitsuki is green, and looks as if her texture is of slime.
Passive Effect: None.
Action: Sabitsuki turns into a pile of goop, and then regenerates back.
Directions: Found by interacting with the slime at the Northern Wastewater Lake.
Practical Uses: None.
Arms
(うで)
Grow multiple arms.
Appearance: Sabitsuki grows an additional three arms, sprouting out of unnatural places such as her head. She notably looks almost identical to Monoko's second form in Yume Nikki.
Passive Effect: None.
Action: Sabitsuki folds all of her arms, teleporting back to the Entrance.
Directions: Found by interacting with the arm sticking out of the ground in Microorganism World.
Practical Uses: Lets you immediately teleport back to the Entrance instead of having to wake up and reenter flow. Useful for escaping chaser traps, or quickly leaving an area.
Viscera
(ないぞう)
Viscera is spilling out...
Appearance: Sabitsuki has a big gash in her stomach, and her intestines are falling out.
Passive Effect: None.
Action: Sabitsuki will attempt to put her intestines back into herself.
Directions: Found by interacting with the Onigo body in Womb Maze.
Practical Uses: None.
Psychedelic
(サイケデリック)
Become Psychedelic.
Appearance: Sabitsuki has a glowing appearance.
Passive Effect: None.
Action: Sabitsuki will change colors.
Directions: Found by touching a piece of the wall that is different from the rest in Rainbow Maze, and then interacting with an NPC in Psychedelic Town.
Practical Uses: None.
Handgun
(けんじゅう)
Wield a Handgun.
Appearance: Sabitsuki holds a gun, which appears to be a small revolver of sorts.
Passive Effect: None
Action: Fires a shot into the air. When shot, NPCs will move away from Sabitsuki. After firing five rounds, Sabitsuki will have to stop and reload the cylinder before firing again.
Directions: Found by interacting with the dumpster in the Hole.
Practical Uses: Can deter NPCs away from Sabitsuki.
Corpse
(したい)
Become a Corpse.
Appearance: Sabitsuki becomes a slightly purple rotting corpse.
Passive Effect: None.
Action: None.
Directions: Found by interacting with the corpse in the Prison.
Practical Uses: None.
Black Hood
(くろフード)
Wear a Black Hood.
Appearance: Sabitsuki wears a black hoodie.
Passive Effect: None.
Action: Sabitsuki raises and lowers the hood.
Directions: Found by interacting with a hooded body in a bathtub in the Disposal.
Practical Uses: None.
Uniform
(せいふく)
Wear a Uniform.
Appearance: Sabitsuki wears a school uniform.
Passive Effect: None.
Action: None.
Directions: Found in the School by interacting with the Kaibutsu in a circle of desks.
Practical Uses: None.
Tattoo
(いれずみ)
Tattoo your eyes.
Appearance: Sabitsuki has cross tattoos over her, presumably open, eyes.
Passive Effect: None.
Action: None.
Directions: Found by interacting with Smile on top of the balcony in the School.
Practical Uses: None.
Plant
(しょくぶつ)
Become a plant.
Appearance: Sabitsuki has one eye covered by a plant, and is surrounded by plants.
Passive Effect: None.
Action: The plants on her will grow. If it is currently raining, either naturally or through use of the Watering Can, the plants on her will rapidly grow, trapping her in place until Shift is pressed again.
Directions: Found in the Illusionary Corridors by interacting with the giant flower.
Practical Uses: None.
Dress
(ドレス)
Wear a dress.
Appearance: Sabitsuki wears a black dress and a veil.
Passive Effect: None.
Action: Sabitsuki does a curtsy. Cleaners will bow back if she curtsies towards them.
Directions: Found in Snow World by interacting with a dress in one of the buildings.
Practical Uses: None.
Television
(テレビ)
Become a Television.
Appearance: Sabitsuki has a TV replacing her head.
Passive Effect: None.
Action: Sabitsuki turns on the television. The image that appears on the television changes depending on the current world and circumstance.
Directions: Found by interacting with the TV in Machine Nation.
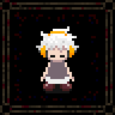
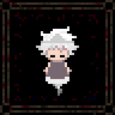
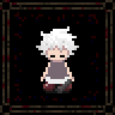
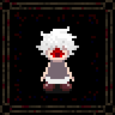
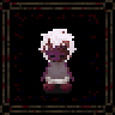
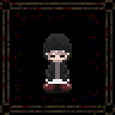
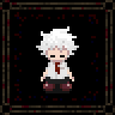
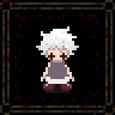
Practical Uses: The screen depicted on the television changes depending on points of interest in the current world, such as uncollected effects, Chasers, etc, making it useful for quickly learning about a new world.
There are ten different channels she may tune to.
- If there is nothing of interest in the current world, there are six potential channels:
- Sabitsuki's face.
- Sabitsuki's face, with her eyes squinted shut.
- Two orange-red sparks.
- The face of Gisokuko.
- A black screen with red, bloody corners.
- A strange blue pattern.
- The remaining four channels are reserved for specific circumstances:
- If an area has an uncollected Effect, the screen will show a single white spark.
- If an area has a Kaibutsu, hostile or not, it will always show an image of a what appears to be a deranged, bloodied smile.
- If used in the Back Ward room with Little Sabitsuki, or any of the rooms leading up to Empty Boxes, it will always show an image of Rust's bloodied, injured face.
- If used in an area with Fetuses, the screen will be red, coated in either blood or rust.
Instructions
(説明書)
See the game's instructions.
Appearance: None.
Passive Effect: None.
Action: A small description of the gameplay shows on the screen.
Directions: This effect is given when you start the game.
Practical Uses: Can be used to find out how the game works.
Empty Boxes
Spoilers:
The Empty Boxes are three items that can only be obtained as Rust. They lack official names: the term Empty Box comes from the completely empty "got item" box displayed when one is collected. For the sake of readability, the guides below use conjectural names, based off of the names of internal switches and flags related to the events.
Collecting all three is the main objective of Rust's part of the game: Doing so enables access to the Rust Corridor, and by extension, the game's final ending.
Note that there is no way to track which ones have already been collected, as they do not show up in any menu.
Spoilers end here.Demon (鬼)
Spoilers:
Directions: Entrance → Utility Pole World → Apartments → Snow World → Illusionary Corridors → Back Ward
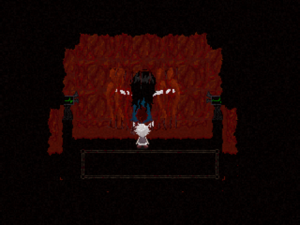
The Demon is found inside a bloody hole at the end of the Back Ward.
Entering the hole will take her to a facsimile of the Blood, Rust, and Pus event's bloody room. Rust can enter the doorway, which will further lead her to a variant of the Childbirth event.
The Onigo in the room will all die as Rust approaches, allowing her easy access to the next room. The Childbirth event will seem to have already played out, as the giantess Onigo is already dead. Interacting with her disemboweled corpse will grant Rust the Demon. The screen will fade into red static afterwards before booting Rust back out to the Back Ward, the bloody hole now closed.
Notably, the hole itself can be interacted with as Sabitsuki: While it'll appear closed, she can open it by hitting it with the Iron Pipe. However, she will refuse to enter.
Spoilers end here.Purity (無垢)
Spoilers:
Directions: Entrance → Utility Pole World → Apartments → Submarine Corridors → Orange Maze → Orange Laboratory
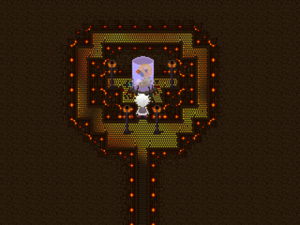
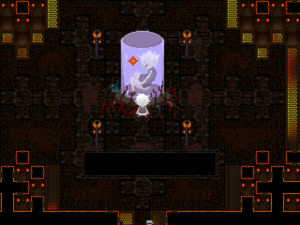
The Purity is found at the very end of the Orange Laboratory.
Find the test tube Oreko in the Orange Maze. Interacting with her, and then heading south will lead you to the Orange Laboratory. At the Orange Laboratory, head right and proceed down the stairs until you pass by the first light fixture, and then immediately turn around to proceed to the next area.
The path to the Purity is fairly linear from here: Interact with the giant Sabitsuki in a test tube at the very end to obtain it.
Sabitsuki will refuse to enter the room with the Purity, although she can explore everything leading up to it freely.
Spoilers end here.Smile (笑顔)
Spoilers:
Directions: Entrance → Music World → Connecting Tile Path → White Room → Blood Maze → Insides → Sewers → Northern Wastewater Lake → Neighborhood → School
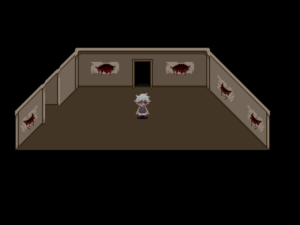
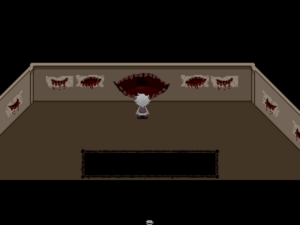
The Smile is found in the basement of the School.
There is nothing particularly noteworthy about the route there. Once you're at the School, head for the basement. Once inside, interact with the giant, gaping mouth to obtain the Smile. Rust will be booted out of the room afterwards with a giggle and cannot reenter.
While Sabitsuki can technically access the School basement, she cannot enter the room with the Smile.
Spoilers end here.
